Turkey Tenderloin Air Fryer Recipe
Looking for a quick and delicious meal? This turkey tenderloin air fryer recipe is the perfect solution. It’s ready in just 30 minutes, making it ideal for busy weeknights or even small holiday gatherings. With minimal prep and juicy results, it’s a crowd-pleaser every time.
This dish is versatile enough for regular dinners or as a lighter alternative for Thanksgiving. You can easily find the ingredients at stores like Walmart or Aldi. Plus, it’s packed with lean protein and can be made gluten-free for dietary needs.
From fridge to table, this recipe is as simple as it gets. Whether you’re new to air frying or a seasoned pro, it’s a must-try for anyone looking to save time without sacrificing flavor.
Why You’ll Love This Turkey Tenderloin Air Fryer Recipe
Need a hassle-free meal that’s ready in no time? This air fryer turkey dish is the answer. It’s perfect for busy weeknights or when you’re craving a quick dinner. With just 30 minutes from prep to table, it’s faster than traditional oven cooking.
One of the best parts? Cleanup is a breeze. Unlike oven-roasted meals, there’s no need to scrub baking sheets or deal with grease splatters. The air fryer’s compact design makes it easy to clean and store.
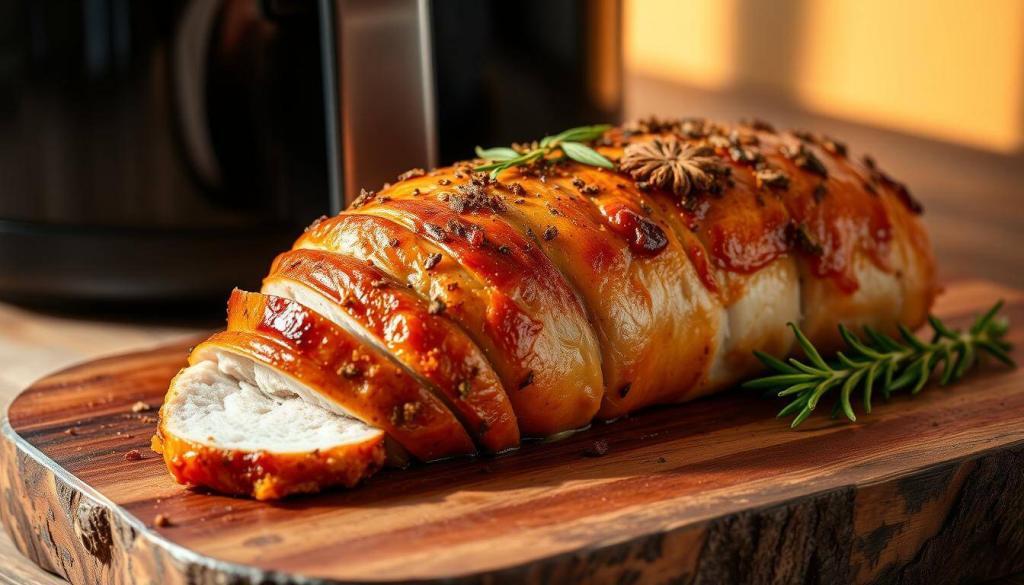
This recipe is also a healthier alternative to fried foods. You get the same crispy texture without the extra oil. Plus, it’s portioned perfectly for 2-4 people, making it ideal for small families or couples.
No basting is required, thanks to the air fryer’s even heat circulation. Whether you’re using fresh or frozen turkey, this method ensures juicy results every time. You can also experiment with different seasonings to suit your taste.
| Traditional Cooking | Air Frying |
|---|---|
| Longer cook time | Ready in 30 minutes |
| Messy cleanup | Easy to clean |
| Higher fat content | Healthier, less oil |
| Fixed portion sizes | Perfect for 2-4 people |
This air fryer recipe is not just a meal—it’s a time-saving, flavor-packed solution for any weeknight. Give it a try and see why it’s a favorite for so many!
What You Need: Ingredients for Air Fryer Turkey Tenderloin
Ready to simplify your cooking routine? Let’s start with the essentials. For this dish, you’ll need a 1.5-2lb package of turkey breast. This size is perfect for 2-4 servings and cooks evenly in the air fryer.
Olive oil is a key ingredient. It keeps the meat moist and helps the seasoning stick. You’ll also need a blend of spices. Combine 1 teaspoon of garlic powder, 1 teaspoon of thyme, and 1 teaspoon of rosemary for a flavorful mix.
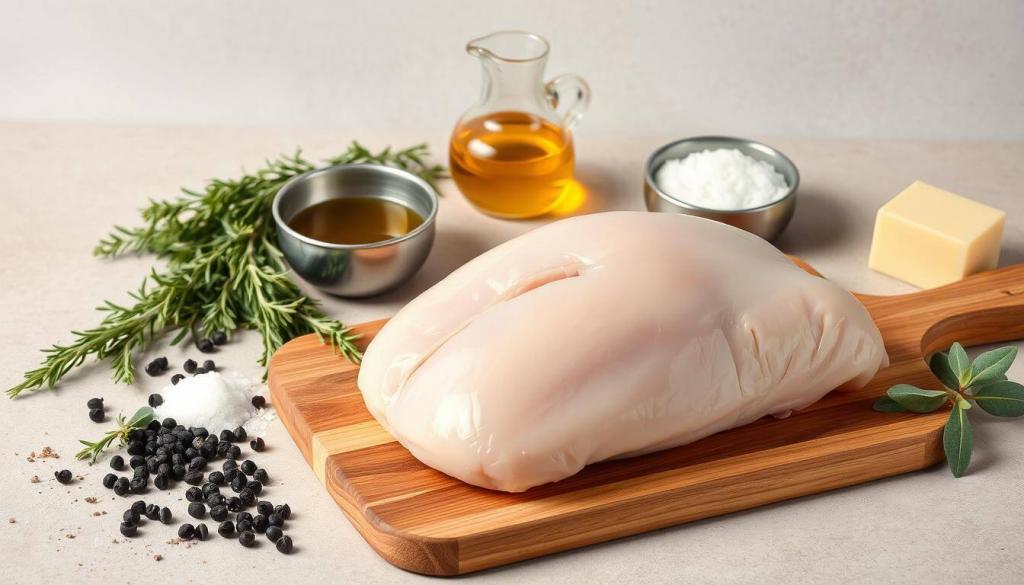
For a touch of sweetness, consider adding honey. It caramelizes beautifully in the air fryer. If you prefer, brown sugar works as a great substitute. If your turkey breast is pre-brined, you can skip adding extra salt.
Here’s a quick checklist of what you’ll need:
- 1.5-2lb turkey breast
- 2 tablespoons olive oil
- 1 teaspoon garlic powder
- 1 teaspoon thyme
- 1 teaspoon rosemary
- Optional: 1 tablespoon honey or brown sugar
Don’t forget the tools! A meat thermometer ensures your turkey is cooked perfectly. A pastry brush helps evenly spread the olive oil and seasoning. With these ingredients and tools, you’re all set for a delicious meal.
How to Prepare Your Turkey Tenderloins
Let’s dive into the prep process for a flavorful dish. First, there’s the debate on rinsing poultry. The USDA recommends against it, as it can spread bacteria. Instead, focus on patting the meat dry with paper towels. This step ensures your seasoning sticks better.
Next, apply a light coat of olive oil. Use your hands or a pastry brush to rub it evenly over the turkey tenderloins. This helps lock in moisture and enhances the flavor of your herbs and spices.
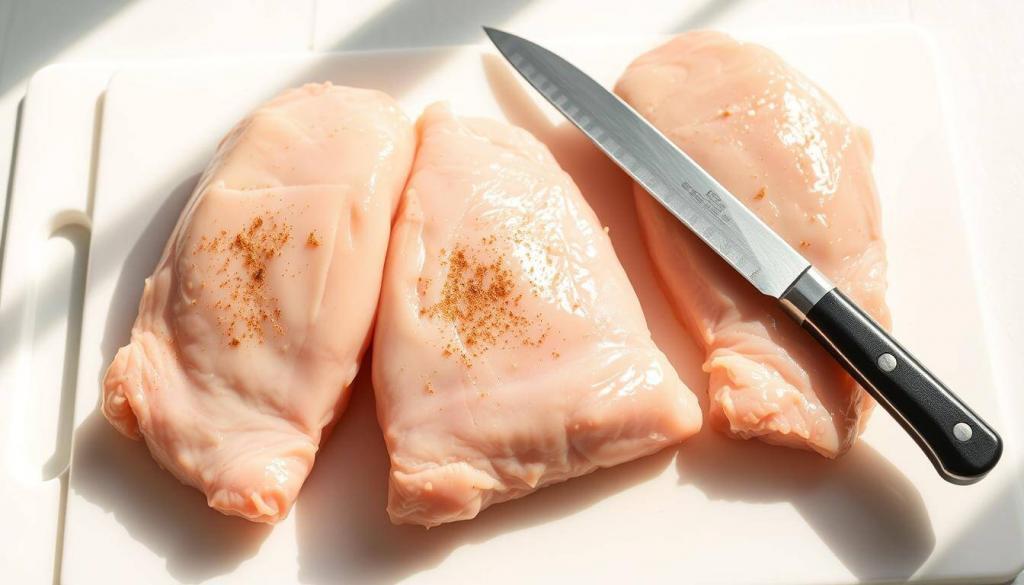
For seasoning, sprinkle your favorite herbs evenly. A mix of garlic powder, thyme, and rosemary works wonders. If you want a caramelized finish, add a touch of honey or brown sugar.
Here are a few extra tips to perfect your prep:
- Trim any uneven parts for uniform thickness.
- Marinate for 30 minutes to deepen the flavor.
- Place the tenderloins in the air fryer basket without overcrowding.
With these steps, your dish will be ready for cooking in no time. Prep smart, and enjoy the results!
Cooking Turkey Tenderloins in the Air Fryer
Ready to cook like a pro? Let’s get started with the air fryer. First, decide on the temperature. Most recipes suggest 400°F for a crispy exterior, but 350°F works if you prefer a slower cook. Both methods deliver juicy results.
Preheating is optional. Some users swear by a 5-minute preheat for even cooking, while others skip it entirely. If you’re short on time, you can skip this step without compromising quality.
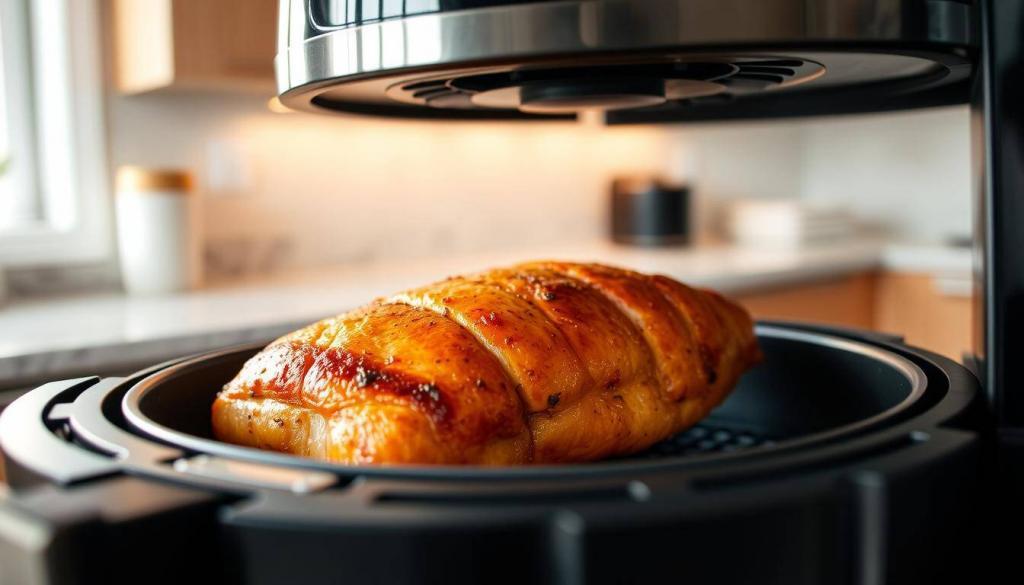
Place the tenderloins in the fryer basket, ensuring they’re not overcrowded. This allows hot air to circulate evenly. For tray-style models, arrange them in a single layer. Flip halfway through cooking for even browning.
Visual cues are helpful. Look for a golden-brown crust and clear juices. A meat thermometer is the best way to confirm doneness, but these visual indicators are a great backup.
For larger batches, cook in multiple rounds. This ensures each piece cooks evenly. Avoid stacking, as it can lead to uneven results. With these tips, you’ll master the air fryer in no time!
Checking the Internal Temperature
Ensuring your meal is safe and delicious starts with checking the internal temperature. The USDA recommends that poultry reaches 165°F to eliminate harmful bacteria. Using a meat thermometer is the most accurate way to confirm this.
Place the thermometer in the thickest part of the meat, avoiding bones or fat. This ensures an accurate reading. If you don’t have a thermometer, look for clear juices and a firm texture as alternative indicators.

Carryover cooking can raise the temperature by a few degrees after removing the meat from heat. To account for this, you can remove it when it reaches 160°F. Always let it rest for a few minutes before serving.
Here’s a quick comparison of safe cooking temperatures:
| Food | Safe Internal Temperature |
|---|---|
| Poultry | 165°F |
| Pork | 145°F |
| Beef | 145°F |
If your meat is undercooked, return it to the heat and check the temperature again. Calibrating your meat thermometer regularly ensures it stays accurate. With these tips, you’ll always serve safe and perfectly cooked meals.
Resting and Slicing Your Turkey Tenderloins
The secret to juicy meat lies in the resting process. After cooking, let your tenderloins rest for 5-10 minutes. This allows the juices to redistribute, ensuring every bite is flavorful and moist.
Should you tent or leave it open-air? Both methods work, but tenting with foil keeps the meat warm. Open-air resting helps the crust stay crispy. Here’s a quick comparison:
| Tenting | Open-Air |
|---|---|
| Keeps meat warm | Maintains crispiness |
| Traps steam | Allows moisture to escape |
| Ideal for colder climates | Best for warm environments |
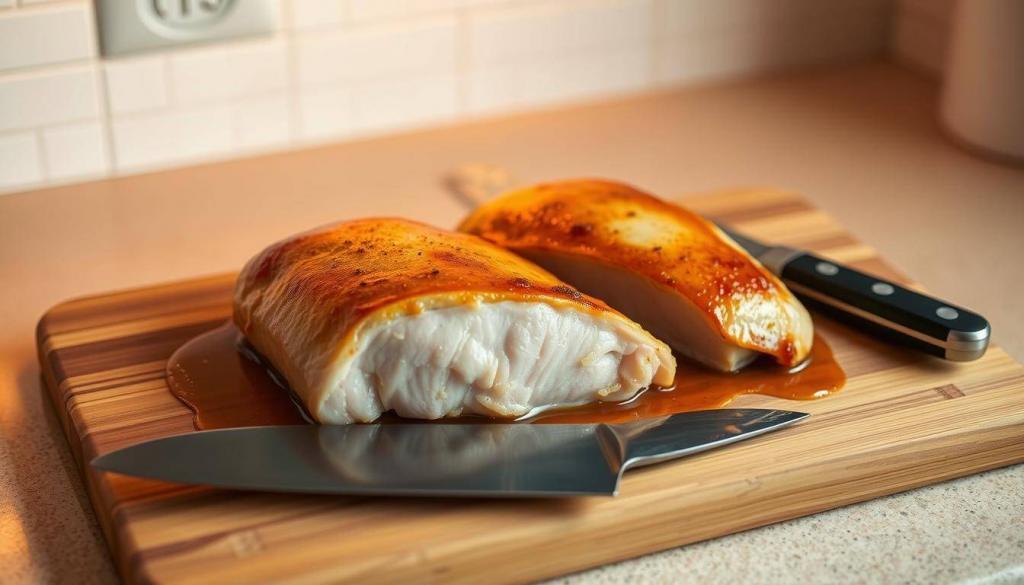
When slicing, use a sharp knife and cut against the grain. This ensures the meat stays tender. For presentation, try bias-slicing at a 45-degree angle. It adds a professional touch to your dish.
Maintaining the serving temperature is key. Keep the slices covered with foil until ready to serve. Don’t forget to salvage the juices from the resting plate. They make a delicious au jus sauce for drizzling.
With these tips, your tenderloins will be perfectly rested, sliced, and ready to impress. Enjoy the process and savor the results!
Serving Suggestions for Air Fryer Turkey Tenderloin
Looking to elevate your meal with the perfect sides? Pairing your main dish with the right accompaniments can transform a simple dinner into a feast. Here are some ideas to inspire your next meal.
For a classic touch, try traditional pairings like cranberry sauce and mashed potatoes. These timeless options complement the flavors beautifully and are always a hit at the table.
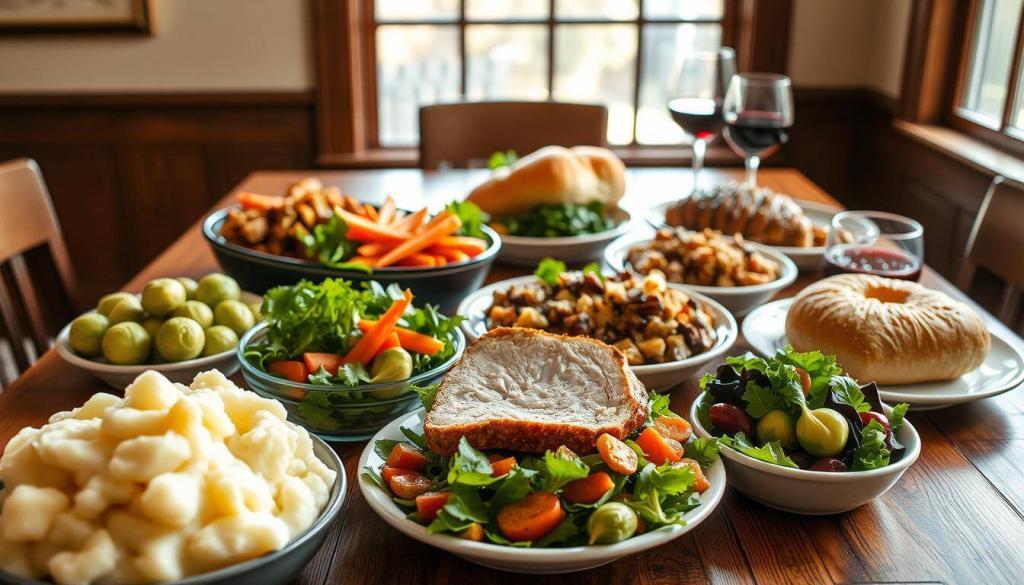
If you’re using your air fryer, consider sides like roasted asparagus or garlic potatoes. They’re quick, easy, and add a crispy texture to your plate. Salads are another great option. Winter greens or an apple walnut salad bring freshness and balance to your meal.
Don’t forget the sauces! Honey mustard or gravy can enhance the flavors and add a rich finish. For holiday menus, these pairings fit seamlessly and make your dinner feel extra special.
Leftovers? No problem. Transform them into sandwiches or salads for a quick and tasty next-day meal. With these suggestions, your dinner will be a hit every time!
Storing and Reheating Leftovers
Got leftovers? Let’s make the most of them! Proper storage and reheating can keep your meal fresh and delicious. Here’s how to do it right.
For refrigeration, store your cooked meat in an airtight container. It stays fresh for 3-4 days. Label the container with the date to keep track of time. This ensures you enjoy it at its best.
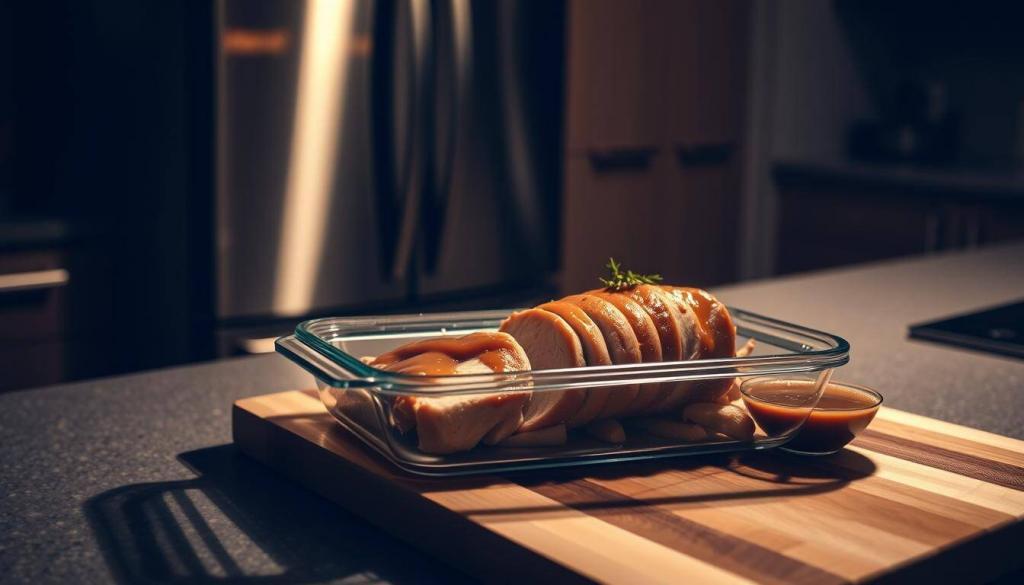
Freezing is another great option. Wrap the meat tightly in foil or plastic wrap to preserve moisture. Place it in a freezer-safe bag or container. It can last up to 3 months without losing quality.
When reheating, the air fryer is a game-changer. It takes just 5-10 minutes to restore the crispy texture. The microwave works too, but add a splash of broth to keep the meat moist.
Here’s a quick comparison of reheating methods:
- Air Fryer: Crispy texture, 5-10 minutes.
- Microwave: Quick, but may dry out without broth.
Leftovers can also be repurposed. Turn them into soups, stews, or sandwiches for a fresh twist. This saves time and reduces waste.
For holiday leftovers, follow food safety guidelines. Consume refrigerated items within 3-4 days. Frozen items are safe for months but taste best within 3 months.
With these tips, your leftovers will stay flavorful and safe. Enjoy every bite, even the second time around!
Tips for Perfect Air Fryer Turkey Tenderloins
Elevate your dish with these simple yet effective techniques. Whether you’re new to cooking or a seasoned pro, these tips will help you achieve restaurant-quality results at home.
For a golden-brown crust, try browning your meat in a skillet before air frying. This adds extra flavor and texture. If you prefer a hands-off approach, a light spray of oil in the air fryer basket works just as well.
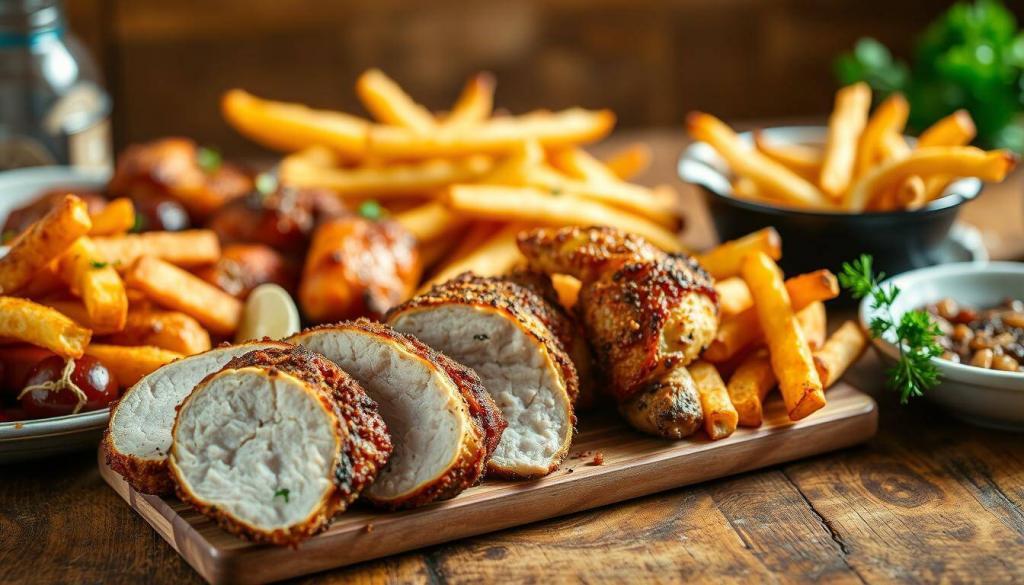
Experiment with herb crusts for added crunch. Mix panko breadcrumbs with your favorite herbs and press them onto the meat before cooking. It’s a quick way to add depth and variety to your meal.
Marinade injections are another game-changer. Use a syringe to infuse flavors directly into the meat. This ensures every bite is packed with taste. Avoid overcrowding the basket to allow hot air to circulate evenly.
If you live at a high altitude, adjust cooking times slightly. Lower air pressure can affect how your dish cooks. For those transitioning from an oven, use conversion charts to adapt recipes seamlessly.
- Brown in a skillet for extra flavor.
- Try herb crusts with panko for crunch.
- Inject marinades for deeper flavor.
- Keep the basket uncrowded for even cooking.
- Adjust for altitude if needed.
- Use conversion charts for oven-to-air fryer recipes.
With these tips, your meals will be perfectly cooked every time. Enjoy the process and savor the results!
Why This Recipe is a Weeknight Winner
Looking for a stress-free way to whip up dinner? This dish is designed for busy evenings. With just 15 minutes of active prep time, it’s a lifesaver when you’re short on time. Plus, it’s cost-effective compared to cooking a whole bird, making it budget-friendly too.
Using the air fryer turkey method is energy-efficient. It consumes less power than a traditional oven, saving you money on utilities. Cleanup is a breeze, with minimal mess to deal with after cooking. This makes it perfect for families or anyone juggling a hectic schedule.
Customize it to suit picky eaters or meal prep for the week. It’s a versatile last-minute dinner solution that never disappoints. Whether you’re feeding kids or prepping for the week, this recipe is a weeknight winner every time.
Footer 1
Call the HERD
Always available for any questions. Call and we will be happy to help.
Follow the HERD
Keep up to date on new products available in store.
Important Links
Join the HERD
Be the first to know about any offers or promotions.
- Herd Butchery 2025

Leave a Reply