Bake the Best Irish Soda Bread for St. Patrick’s Day
St. Patrick’s Day is a time to celebrate Irish culture, and what better way to honour this tradition than by baking a classic recipe? This dish, deeply rooted in family heritage, has been passed down through generations, offering a taste of authenticity and warmth. With just a handful of simple ingredients, it’s a perfect way to bring people together.
Our cherished family recipe ensures a dense yet tender crumb and a golden crust that’s irresistible. The process is straightforward, relying on baking soda and buttermilk for natural leavening, making it accessible for both beginners and seasoned bakers1. The result is a loaf that’s as comforting as it is delicious.
We’ll guide you through easy-to-follow steps, ensuring success every time. Whether you’re celebrating with family or friends, this dish is a heartfelt way to connect with Irish traditions. Plus, it’s versatile—add raisins for a touch of sweetness or keep it plain for a classic taste2.
Join us in this culinary adventure, where heritage meets simplicity. Let’s create something special together this St. Patrick’s Day.
Exploring the History and Tradition of Irish Soda Bread
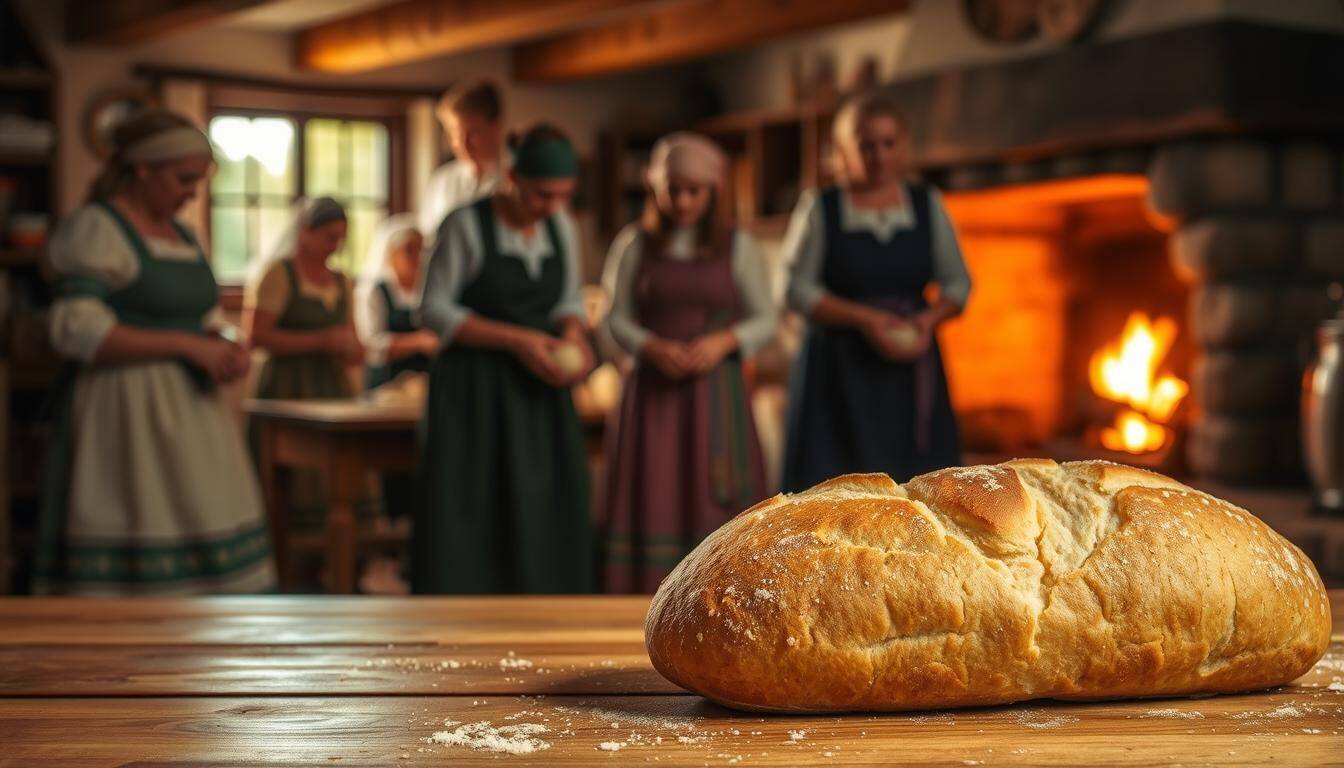
A symbol of resilience, this dish emerged during challenging times. Its origins trace back to the 19th century, when baking soda became a popular leavening agent in Irish kitchens3. During the famine years, families relied on simple ingredients like flour, salt, and buttermilk to create a nourishing loaf4.
Origins and Cultural Significance
This recipe reflects Ireland’s ingenuity. The combination of baking soda and buttermilk allowed families to bake bread without yeast, which was scarce during the mid-19th century3. This method became a lifeline, ensuring households had access to fresh, homemade food.
Today, it remains a cherished tradition. Many families pass down their recipes through generations, making it a cultural and social activity3. Its simplicity and versatility have cemented its place in Irish households.
Traditional Variations Across Ireland
Across the country, regional differences shape this dish. In the North, the dough is often divided into four triangular shapes, while the South favours a round loaf with a cross cut on top4. These variations highlight the diversity of Irish culinary practices.
Modern adaptations have introduced new flavours. Ingredients like raisins, caraway seeds, and honey add sweetness and texture, reflecting evolving tastes3. Yet, the essence of the recipe remains unchanged, honouring its humble beginnings.
Essential Ingredients and Their Roles
The foundation of a great loaf lies in its ingredients. Each component has a specific role, ensuring the perfect texture, flavour, and rise. Let’s explore the key elements that make this recipe a success.
Buttermilk and Baking Soda: The Dynamic Duo
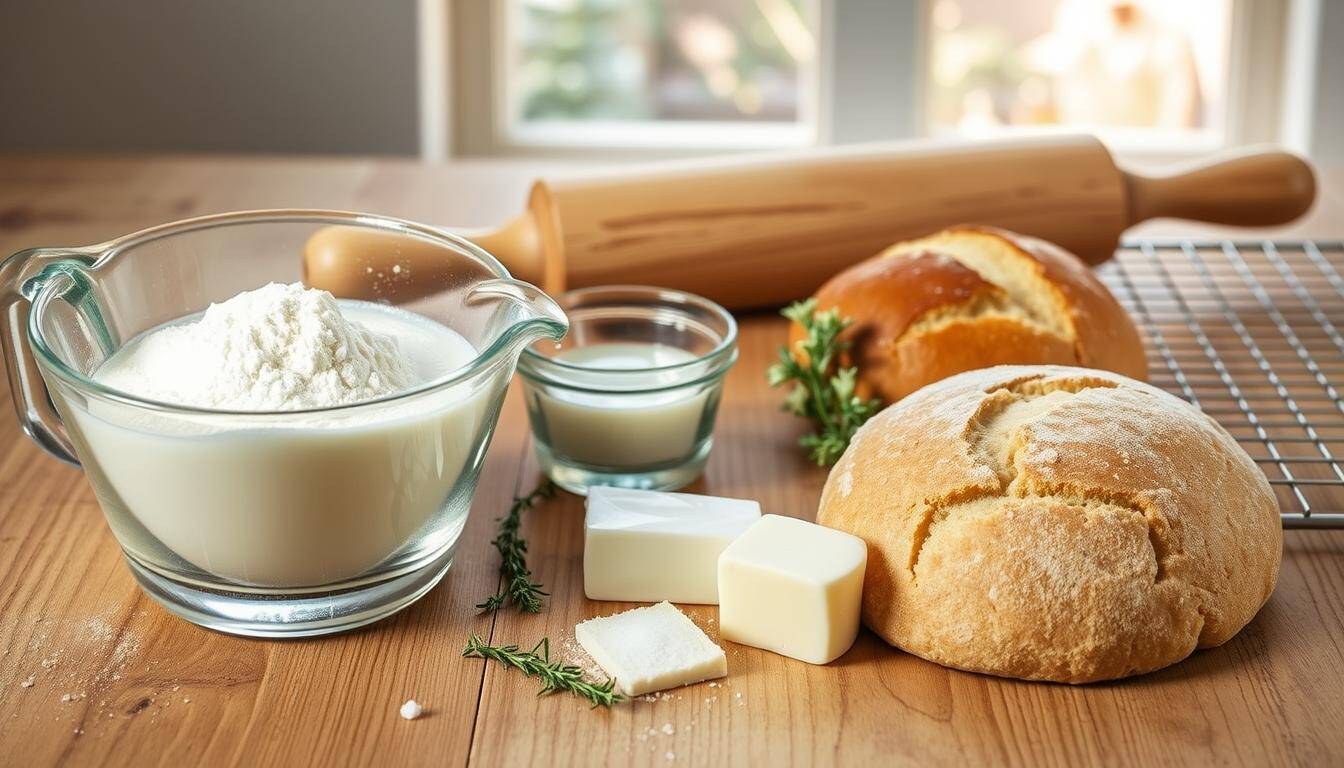
Cold buttermilk is pivotal in activating the baking soda, creating natural leavening. This reaction ensures a light and airy crumb, even without yeast5. The acidity of buttermilk also enhances the dough’s tenderness, making it a crucial ingredient.
Other Key Additions: Eggs, Sugar, and Butter
Adding an egg introduces richness and density to the loaf, resulting in a tighter crumb5. Sugar, though optional, balances the tanginess of buttermilk and adds a subtle sweetness. Cold butter, when cut into the flour, creates a flaky texture, contributing to the overall mouthfeel6.
Precision is key when measuring these ingredients. Accurate proportions and timing ensure consistent results every time. Whether you’re a beginner or an experienced baker, understanding these roles will elevate your baking game.
Unlocking the Secrets of Authentic Irish Soda Bread
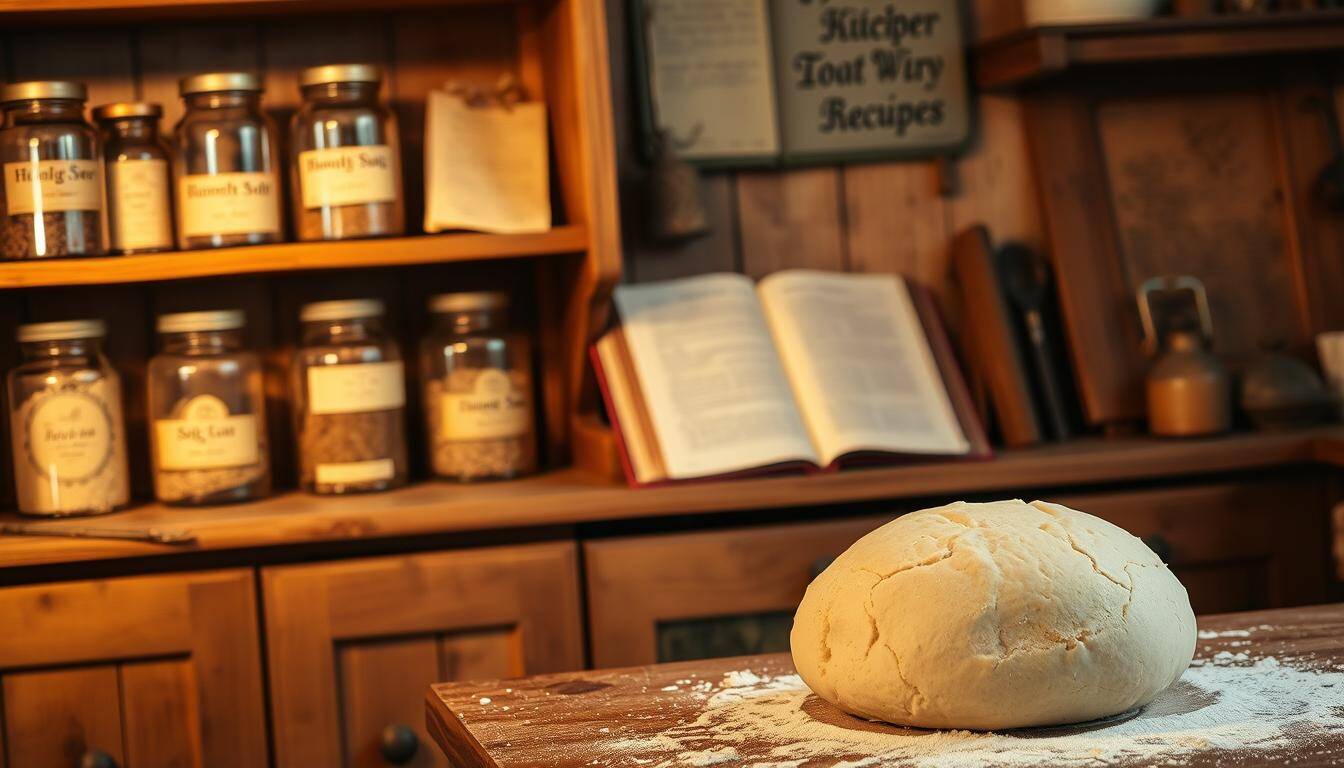
Discover the heritage secrets that make this dish a beloved tradition. Our family recipe has been passed down through generations, ensuring every bite carries the warmth of history. With just a few minutes of hands-on time, you can create a light, flaky loaf that celebrates Irish culinary heritage.
Heritage Recipe Passed Down Through Generations
At the heart of this recipe lies the use of high-quality flour. It’s the foundation that ensures the dough achieves the perfect texture7. Handling the dough with care is equally important, as it guarantees a soft yet resilient loaf. Each step is a nod to the traditions that have shaped our baking method.
Here’s what makes our recipe stand out:
- Time-honoured techniques that ensure consistency and authenticity.
- Simple ingredients like flour and buttermilk, combined with precision8.
- A preparation process that takes only a few minutes but yields impressive results.
Every loaf we bake is a tribute to the generations before us. It’s more than just a recipe—it’s a connection to our roots. By following these steps, you’re not just baking; you’re preserving a piece of history.
Mastering the Perfect Dough Preparation
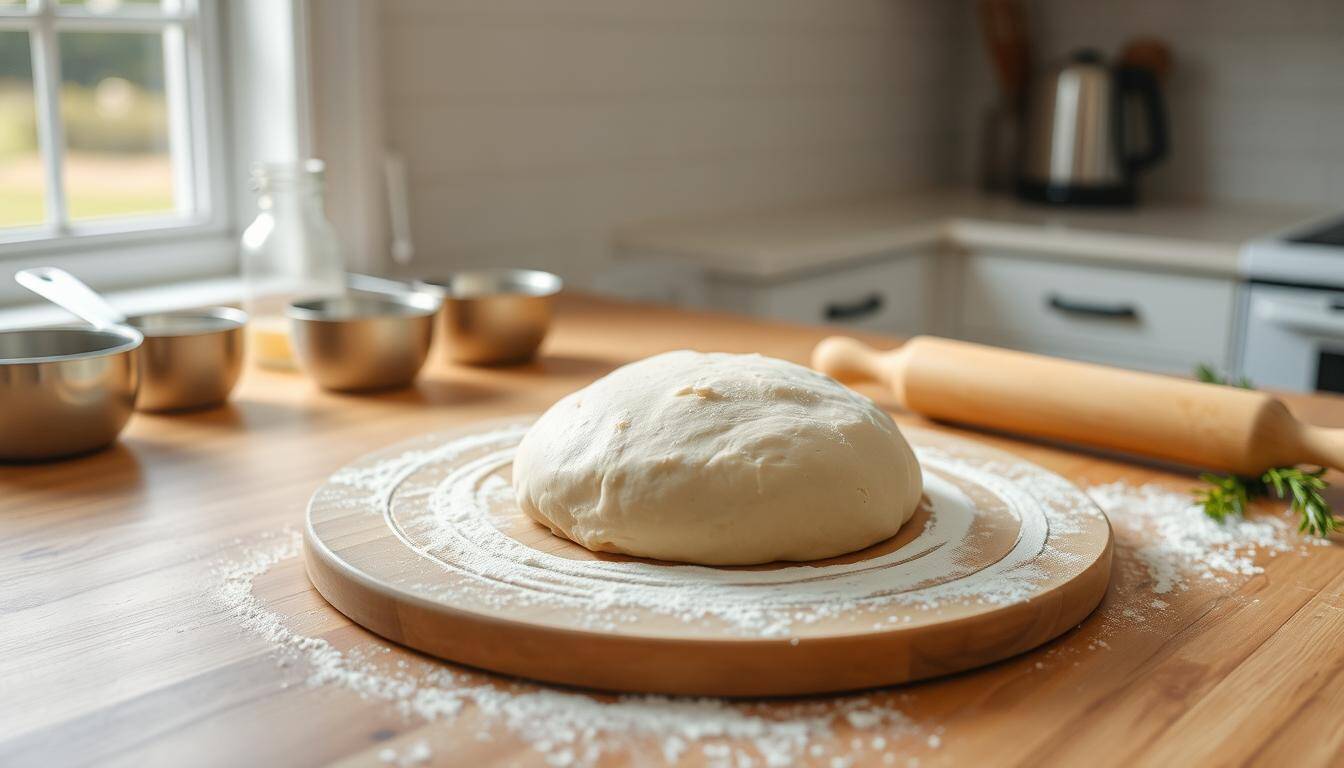
Creating the perfect dough is an art that requires precision and care. The key to achieving a tender and shaggy texture lies in minimal handling. Overworking the dough can lead to a tough result, so it’s essential to strike the right balance9.
Mixing Techniques for a Shaggy Dough
Start by combining your dry ingredients in a well-floured bowl. Use a knife or your hands to cut in the cold butter until the mixture resembles coarse crumbs. This step ensures a flaky texture in your quick bread10.
Add the wet ingredients gradually, stirring just until the mixture comes together. Overmixing can lead to a dense loaf, so stop as soon as the dough forms. A shaggy appearance is exactly what you’re aiming for9.
Proper Kneading Methods to Preserve Texture
When kneading, use a light touch and fold the dough gently. Aim for no more than 6 to 8 folds to maintain the shaggy integrity of the mixture10. This ensures your quick bread remains soft and inviting.
Transfer the dough to a floured surface and shape it into a round loaf. A well-floured bowl and a tablespoon measure for adding fat are crucial tools in this process9. These steps guarantee a consistent and tender result every time.
The Art of Scoring Your Bread
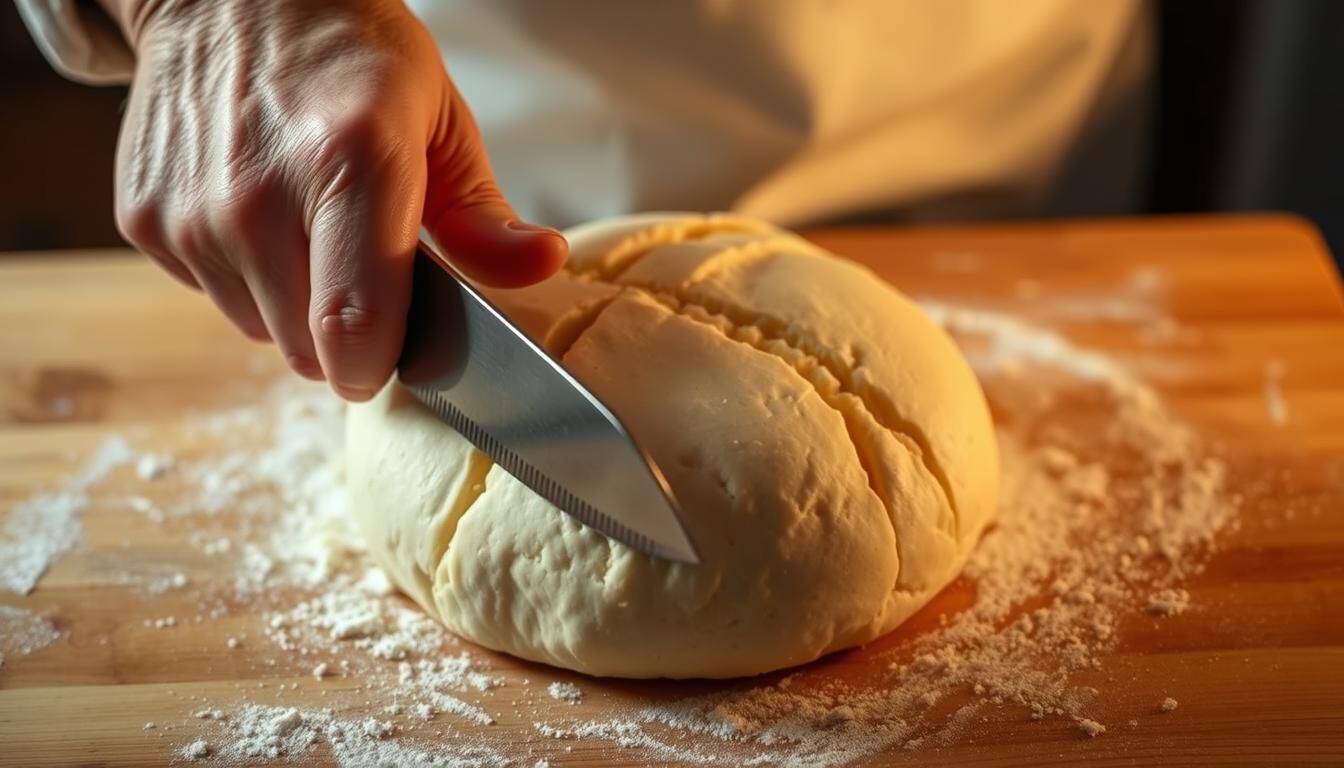
Scoring your dough is more than just a decorative touch—it’s essential for even baking. This simple step allows heat to penetrate the centre evenly, ensuring a uniform rise and a beautifully patterned top11. Without it, your loaf may bake unevenly, resulting in a dense or misshapen final product.
Why Scoring is Essential for Even Baking
Scoring serves a functional purpose. It creates weak points in the dough, allowing it to expand in a controlled manner during baking. This ensures the heat circulates properly, preventing cracks or uneven rises12. A well-scored loaf not only bakes evenly but also boasts an attractive top that’s a joy to present.
- Heat circulation: Scoring helps heat reach the centre of the dough, ensuring even baking.
- Precision matters: Using a sharp knife is crucial for clean, precise cuts that guide the dough’s expansion.
- Step-by-step process: Start by making shallow cuts at a slight angle, ensuring they’re evenly spaced.
- Final touch: A well-executed scoring technique enhances both the appearance and texture of your loaf.
When scoring, always use a sharp knife. A dull blade can tear the dough, ruining its structure. Make each cut with confidence, aiming for a depth of about a quarter-inch. This bit of effort pays off with a loaf that’s as visually stunning as it is delicious11.
Mastering this technique takes practice, but it’s worth it. With each step, you’ll notice improvements in the rise, texture, and overall presentation of your baked goods. So, grab your sharp knife and give it a go—your next loaf will thank you!
Choosing the Ideal Baking Vessel
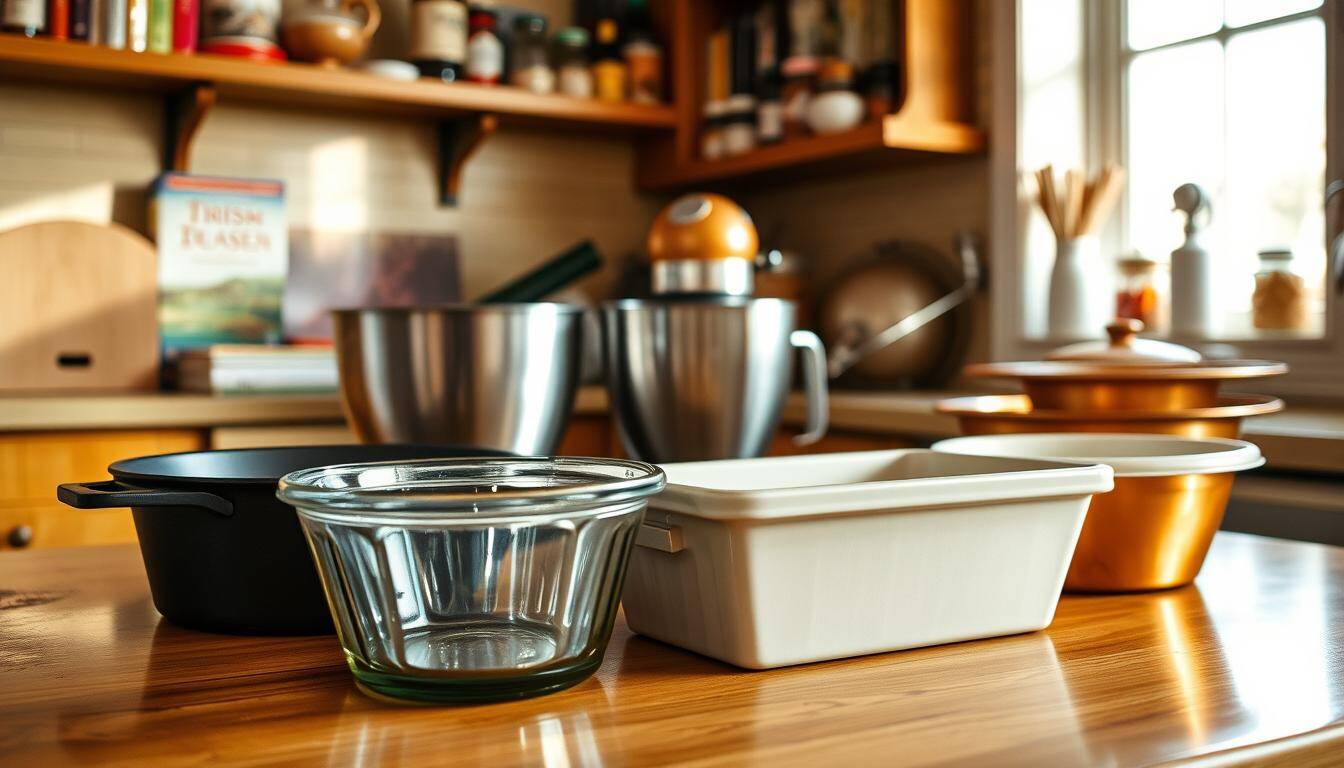
Selecting the right baking vessel can make or break your loaf. The vessel you choose impacts heat retention, crust crispness, and overall texture. Whether you opt for a cast iron skillet or a baking sheet, each has its unique benefits. Let’s explore how to choose the best one for your needs.
Cast Iron Skillets vs Baking Sheets
Cast iron skillets are a favourite for achieving a crispy crust. They retain heat exceptionally well, ensuring even baking and a golden finish13. This makes them ideal for those who love a hearty, crackling crust. However, they can be heavy and require proper seasoning to maintain their quality.
On the other hand, baking sheets offer a lighter alternative. They’re perfect for achieving a softer crust and are easier to handle14. If you prefer a more delicate texture, a baking sheet might be your best bet. Both options have their merits, so choose based on your desired outcome.
Optimising Oven Temperature for a Crispy Crust
Preheating your oven to the right temperature is crucial. For a crispy crust, set your oven to 200°C13. This ensures the dough bakes evenly and develops that desirable crackle. A well-preheated oven also prevents undercooking or uneven rises.
If you’re using a cast iron skillet, the oven temperature remains the same. However, baking sheets may require slight adjustments. Always monitor your loaf to ensure it doesn’t overbake. A perfectly baked loaf is a joy to present and even better to taste.
Step-by-Step Recipe Instructions
Baking a perfect loaf starts with careful preparation and attention to detail. We’ll guide you through each step, ensuring your creation turns out just right. From measuring ingredients to monitoring the oven, every detail matters.
Combining Dry and Wet Ingredients Conscientiously
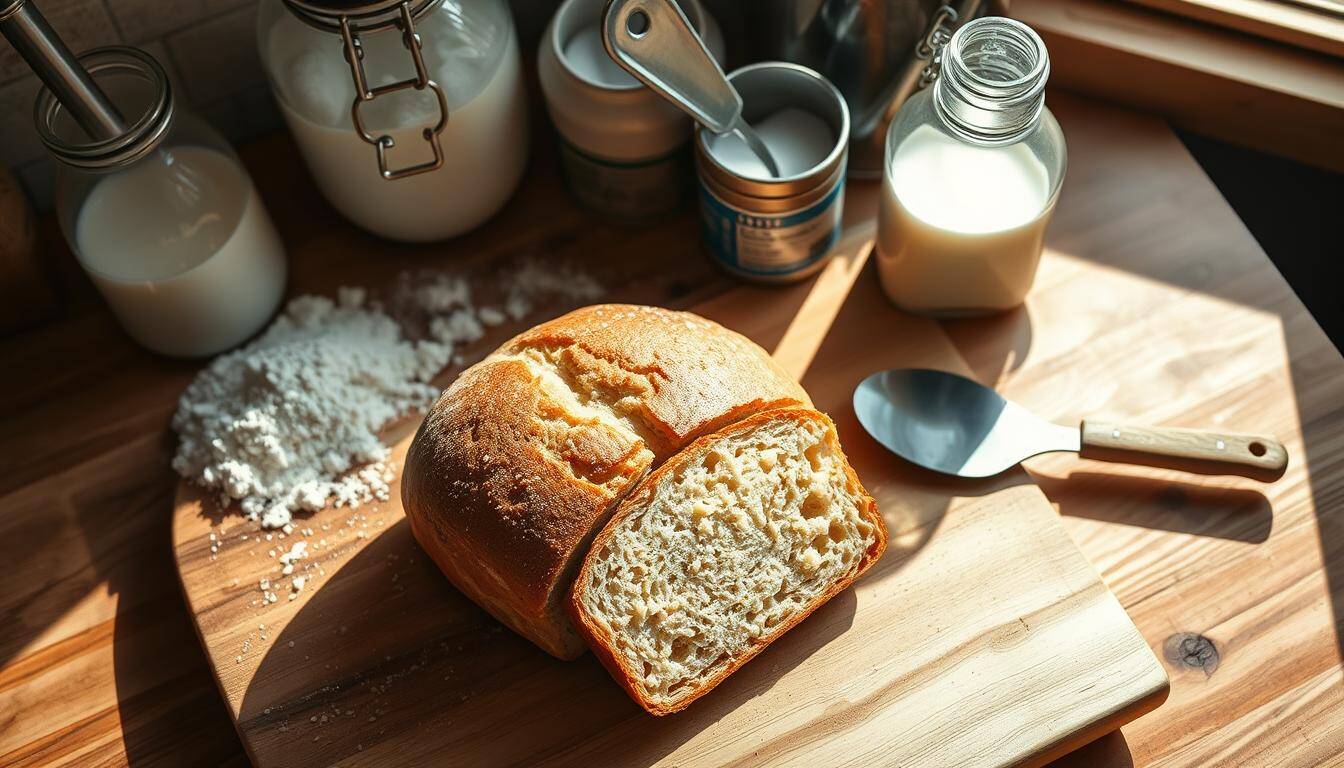
Begin by measuring your dry ingredients. Use a cup for flour and a teaspoon for baking soda and salt. Combine these in a large bowl, ensuring they’re evenly distributed15. This step is crucial for achieving the right texture.
Next, add the wet ingredients. Pour in the buttermilk and crack in the egg. Mix gently until the dough just comes together. Overmixing can lead to a dense result, so handle the dough with care16.
Monitoring Baking Time and Temperature
Preheat your oven to 200°C (425°F) for optimal results. Place the dough in a greased baking vessel and bake for 50-55 minutes15. Keep an eye on the loaf to ensure it doesn’t overbake.
Once baked, let the loaf cool to room temperature before slicing. This enhances the texture and makes it easier to cut2. Enjoy your freshly baked creation with family and friends!
Customising Your Soda Bread for Unique Flavours
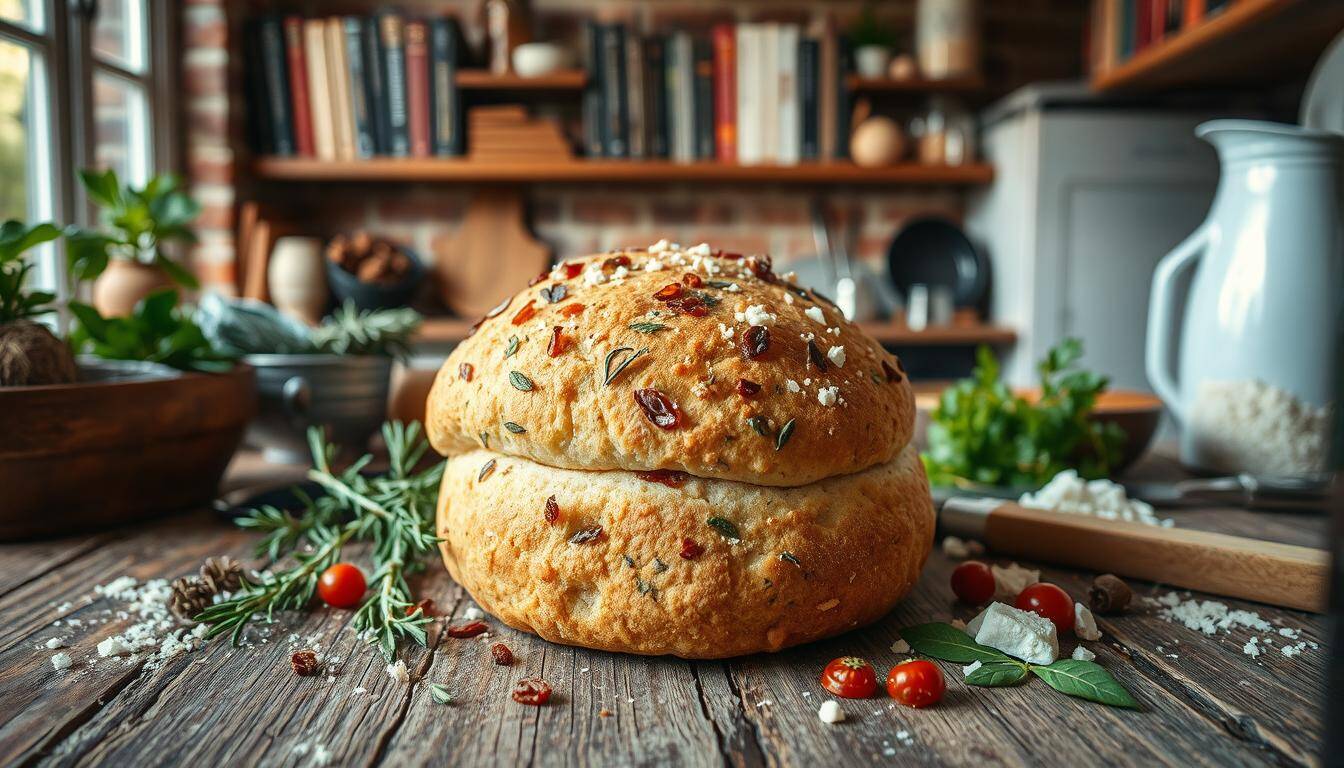
Adding a personal touch to your baking can make it truly special. This St. Patrick’s Day, why not experiment with optional ingredients to create a dish that’s uniquely yours? From raisins to caraway seeds, these additions can transform the traditional recipe into something extraordinary17.
Incorporating Optional Ingredients like Raisins or Caraway Seeds
Raisins add a touch of sweetness, making the loaf perfect for breakfast or tea. Caraway seeds, on the other hand, introduce a subtle earthy flavour that pairs beautifully with savoury dishes18. Both ingredients enhance the texture and taste, offering a delightful twist to the classic recipe.
For those who enjoy experimenting, consider mixing all-purpose flour with wholemeal flour. This combination creates a denser crumb while maintaining the loaf’s lightness17. Adjusting the proportions allows you to tailor the texture to your preference.
Personalising the Recipe for St. Patrick’s Day Festivities
Celebrating St. Patrick’s Day is all about embracing tradition with a personal flair. Adding festive ingredients like dried fruits or seeds can make your dish stand out at any gathering18. Here are a few ideas to inspire you:
- Sweet variations: Include raisins or currants for a hint of sweetness.
- Savory options: Add caraway seeds or grated cheese for a richer flavour.
- Texture experiments: Mix all-purpose flour with wholemeal flour for a denser loaf.
These simple tweaks allow you to celebrate the day in a way that’s uniquely yours. Whether you’re hosting a party or enjoying a quiet meal, personalised baking adds a special touch to the festivities.
Troubleshooting and Baking Tips
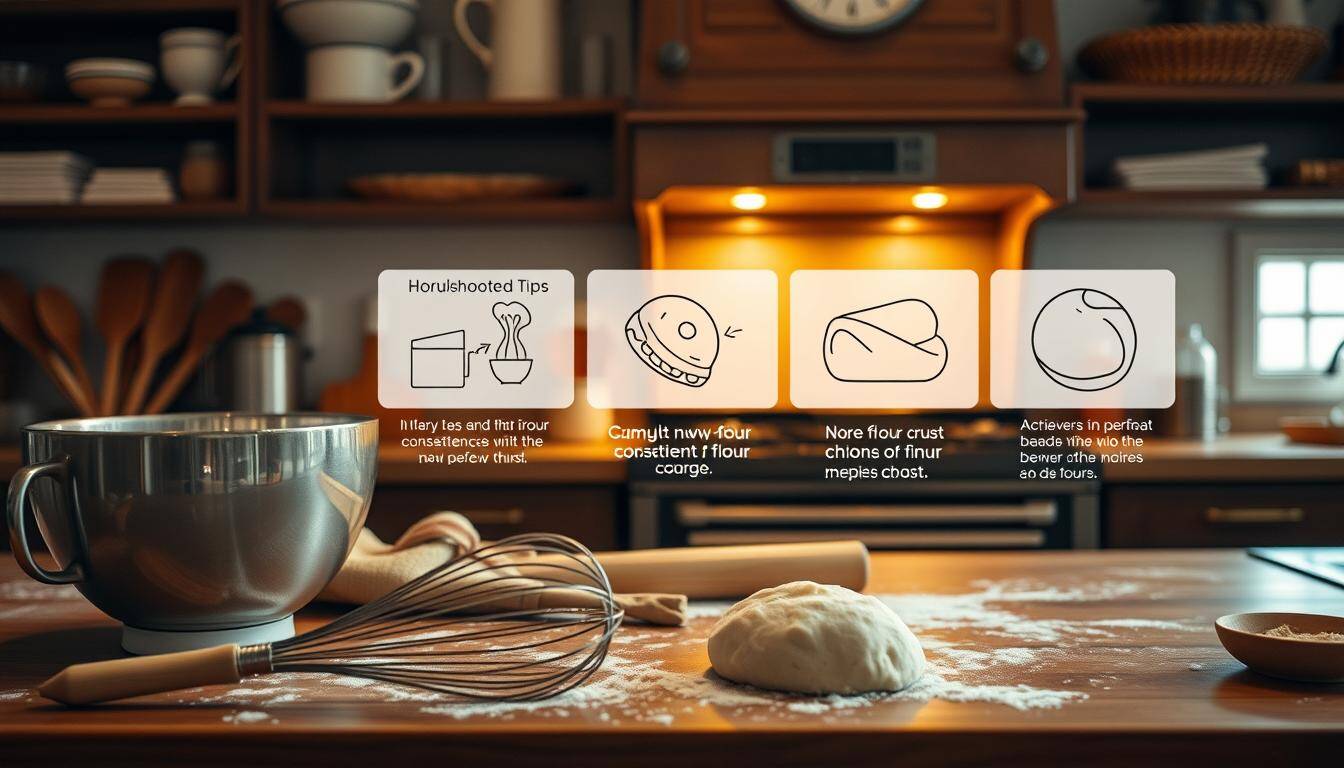
Every baker encounters challenges, but knowing how to troubleshoot can make all the difference. Whether you’re a beginner or a seasoned pro, understanding common issues and their solutions ensures consistent results. Let’s dive into practical tips to perfect your bake.
Preventing a Dense or Dry Loaf
A dense or dry loaf often results from improper ingredient ratios or overmixing. To avoid this, ensure the amount of buttermilk is precise, as it provides the necessary moisture19. Overmixing can lead to a tough texture, so handle the dough gently and stop as soon as it comes together.
Another key factor is the balance of salt and teaspoon baking soda. Too much salt can inhibit the rise, while too little baking soda may leave the loaf flat20. Measure these ingredients carefully to maintain the perfect balance.
Achieving the Perfect Rise Without Yeast
The rise in this recipe relies on the reaction between baking soda and the acid in buttermilk. Ensure your buttermilk is fresh, as its acidity is crucial for activating the baking soda19. If your loaf doesn’t rise properly, check the freshness of your ingredients.
Here are some additional tips to ensure success:
- Measure accurately: Use precise amounts of salt and baking soda for consistent results.
- Handle with care: Avoid overmixing or over-kneading the dough.
- Adjust as needed: If your loaf is too dry, increase the buttermilk slightly.
By following these tips, you’ll achieve a light, tender loaf every time. Happy baking!
Final Reflections on Our Irish Soda Bread Adventure
As we wrap up our baking journey, we reflect on the lessons learned and the joy of creating something special. From mastering the dough to achieving the perfect rise, every step has been a rewarding experience. We’ve discovered that precision and patience are key to unlocking the best results21.
One of the most important tips we’ve shared is letting your creation cool on a rack. This ensures the texture remains perfect and the flavours fully develop. It’s a small step that makes a big difference22.
We encourage you to experiment with teaspoon baking details and make this recipe your own. Whether you add raisins or try a savoury twist, the possibilities are endless. Celebrate the tradition and enjoy the process in the comfort of your own room.
We’d love to hear about your success. Share your stories and creations with us, and let’s continue this baking adventure together!
Source Links
- Grandma’s Irish Soda Bread – Sally’s Baking Addiction – https://sallysbakingaddiction.com/grandmas-irish-soda-bread/
- You Need Less Than an Hour to Make Your Own Irish Soda Bread – https://www.simplyrecipes.com/recipes/irish_soda_bread/
- RISING TO TRADITION: EXPLORING THE RICH LEGACY OF IRISH SODA BREAD – https://irishfoodhub.com/rising-to-tradition-exploring-the-rich-legacy-of-irish-soda-bread/
- The short but fascinating history of Irish soda bread – https://www.trafalgar.com/real-word/irish-soda-bread-history/
- Traditional Irish Soda Bread – https://www.lionsbread.com/traditional-irish-soda-bread/
- The Best Irish Soda Bread Recipes: A Taste of Ireland’s Heart and Hearth – Secret Ireland – https://secretireland.ie/the-best-irish-soda-bread-recipes-a-taste-of-irelands-heart-and-hearth/
- Irish Raisin Soda Bread – https://www.irishamericanmom.com/irish-raisin-soda-bread/
- What Does Irish Soda Bread Taste Like and When to Make it! – Better Baker Club – https://betterbakerclub.com/what-does-irish-soda-bread-taste-like/
- How to bake the perfect soda bread – https://www.theguardian.com/lifeandstyle/wordofmouth/2014/feb/05/how-to-bake-perfect-soda-bread
- How to Make Irish Soda Bread at Home – https://www.tasteofhome.com/article/how-to-make-irish-soda-bread/?srsltid=AfmBOopQqHHgH1r-eAXvkfAfxkzFByzRBDBJbjHM50rGSSrB0wp8HTLk
- St. Patrick’s Day Irish Soda Bread-Louise’s Recipe — Baking With Colette – http://www.bakingwithcolette.com/baking/2016/5/9/st-patricks-day-irish-soda-bread-louises-recipe
- Cook’s Illustrated, American-Style Irish Soda Bread – https://www.goodthingsbydavid.com/2018/03/cooks-illustrated-american-style-irish.html
- Traditional Irish Soda Bread – The Irishman’s Wife – https://www.theirishmanswife.com/traditional-irish-soda-bread/
- Guide to Bread Baking Tins – The Bread She Bakes – https://www.thebreadshebakes.com/2019/07/bread-baking-tins/
- Irish Soda Bread Recipe – https://natashaskitchen.com/irish-soda-bread/
- Real Irish Soda Bread Recipe – https://www.seriouseats.com/real-irish-soda-bread-recipe
- Traditional Irish Soda Bread With 5 Flavor Options – https://www.fermentingforfoodies.com/traditional-irish-soda-bread/
- World’s best No Yeast Bread – Irish Soda Bread – https://www.recipetineats.com/no-yeast-bread-irish-soda-bread/
- How To Make Irish Soda Bread – https://www.allrecipes.com/article/how-to-make-irish-soda-bread/
- Irish Soda Bread Baking and Eating Tips – https://www.realsimple.com/food-recipes/cooking-tips-techniques/baking/irish-soda-bread
- Irish Soda Bread | Adventure-Some – http://adventure-some.com/personal/irish-soda-bread/
- My Nanny’s Irish Soda Bread – https://www.houseofbrigid.org/4425/my-nannys-irish-soda-bread
Footer 1
Call the HERD
Always available for any questions. Call and we will be happy to help.
Follow the HERD
Keep up to date on new products available in store.
Important Links
Join the HERD
Be the first to know about any offers or promotions.
- Herd Butchery 2025

Leave a Reply