Slow Cooker Lamb Shank Recipe
Looking for a dish that’s both easy to prepare and incredibly satisfying? Our foolproof method delivers fall-off-the-bone tenderness with minimal effort. Perfect for busy weeknights or special gatherings, this dish is a crowd-pleaser every time.
Using affordable cuts, this recipe transforms simple ingredients into a rich and flavorful meal. The low-and-slow braising method ensures the meat is tender and juicy, while the cooking liquids create a delicious gravy. Plus, leftovers taste even better the next day!
We’ve made this dish a weekly staple in our kitchen, and it’s sure to become a favorite in yours too. Whether you’re cooking for family or hosting guests, this recipe is a versatile and reliable choice.
Why You’ll Love This Slow Cooker Lamb Shank Recipe
Discover a dish that combines simplicity with incredible flavor. Our method ensures tender, juicy results with minimal effort. Whether you’re short on time or planning ahead, this recipe adapts to your schedule.
Unlike traditional methods, there’s no need for browning. This saves time and simplifies prep. You can cook on HIGH for 4.5 hours for faster results or LOW for 7 hours for an all-day simmer. Either way, the meat turns out perfectly tender.
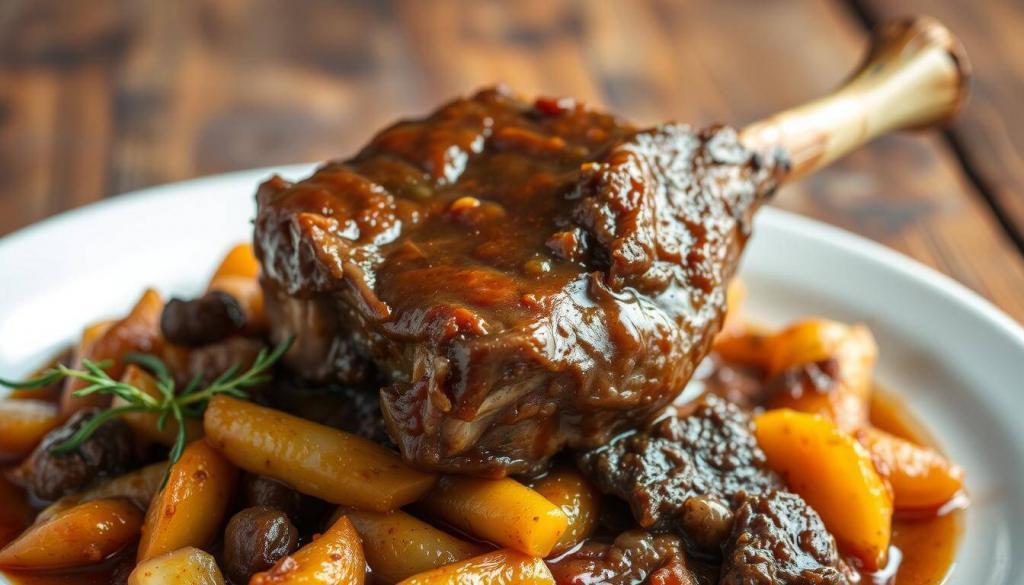
The cooking liquids naturally transform into a rich, flavorful gravy. No extra steps are needed. This makes the dish even more convenient for busy cooks.
Meal prep is a breeze with this recipe. Store leftovers in an airtight container for up to 4 days in the fridge or 3 months in the freezer. Reheating preserves the juiciness, making it a great option for future meals.
This dish is also perfect for feeding a crowd. A standard 6-quart slow cooker can comfortably fit 4 lamb shanks. Scale the recipe as needed for larger gatherings.
| Cooking Method | Time | Storage |
|---|---|---|
| HIGH | 4.5 hours | 4 days refrigerated |
| LOW | 7 hours | 3 months frozen |
Essential Ingredients for Tender Lamb Shanks
Ready to elevate your cooking game with a few key ingredients? The right components ensure tender, flavorful results every time. Let’s break down what you’ll need.
Start with high-quality lamb shanks. Look for cuts weighing ¾ to 1 pound each, with pinkish-red meat and minimal connective tissue. This ensures even cooking and a melt-in-your-mouth texture.
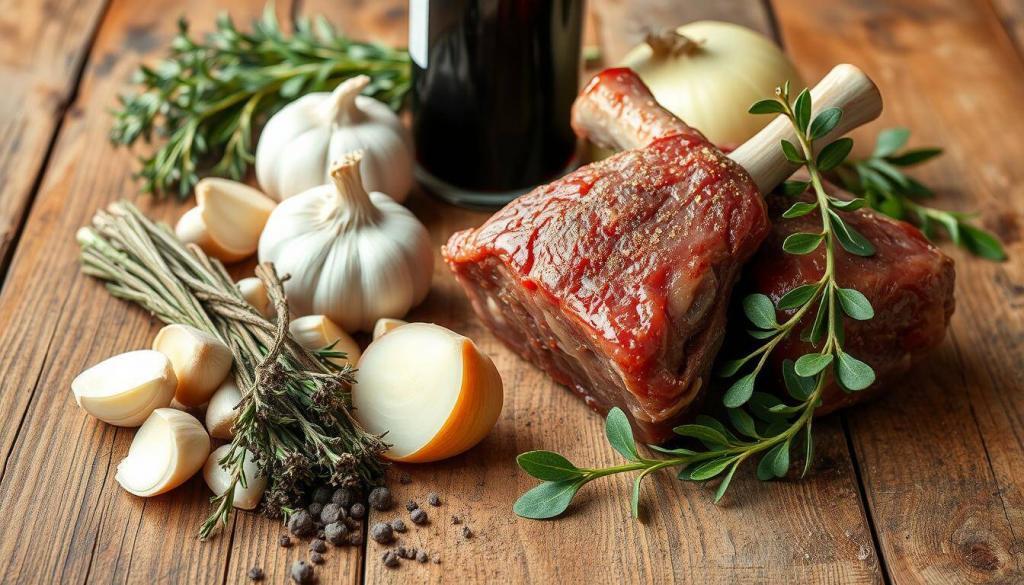
Beef broth is a must for depth of flavor. It enhances the natural richness of the meat. If you’re out of beef broth, chicken broth or water can work in a pinch.
Our spice blend balances the dish perfectly. Combine kosher salt, black pepper, garlic powder, cumin, and dried rosemary. This mix adds warmth and complexity while taming any gaminess.
- Pro tip: Use Diamond Crystal kosher salt for better control. Half a teaspoon of table salt equals one teaspoon of Diamond Crystal.
- Avoid fresh rosemary. Dried rosemary prevents bitter flavors during long cooking.
With these ingredients, you’re set for success. Quality choices make all the difference in creating a dish that’s both hearty and satisfying.
Step-by-Step Cooking Instructions
Follow these easy instructions for a hassle-free cooking experience. We’ll guide you through each step to ensure tender, flavorful results every time.
Start by pouring ½ cup of broth into the cooker. This prevents sticking and adds moisture during the cooking process. Next, generously season the shanks on all sides with the spice mix. This step enhances the flavor and ensures even cooking.
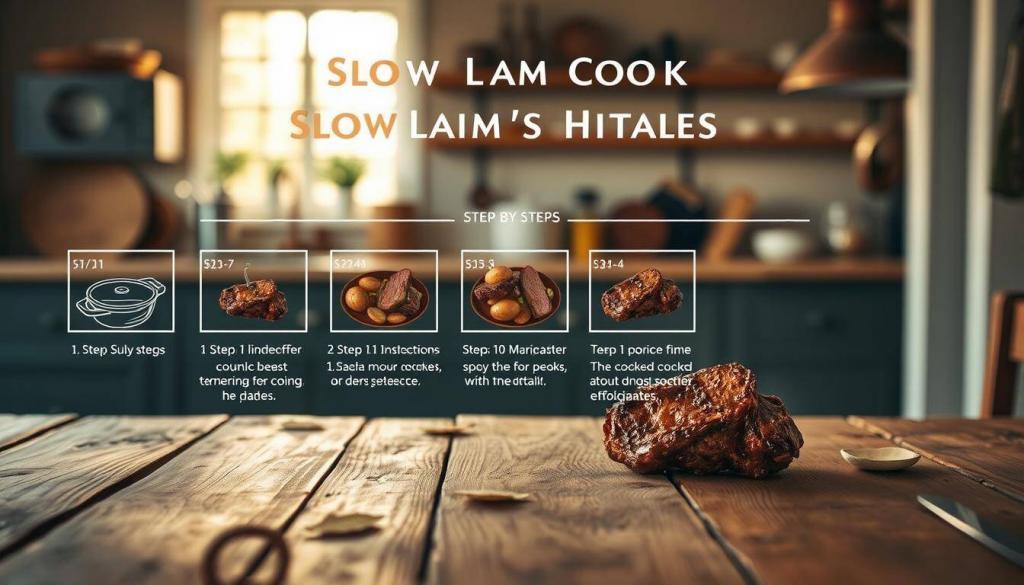
Arrange the shanks upright in the cooker, with the meaty ends facing the center. This positioning allows for even heat distribution. Cook on HIGH heat for 4 hours or LOW heat for 7 hours. The meat should pull easily from the bone when done.
For larger shanks (over 1 pound each), add 30 minutes to 1 hour to the cooking time. This ensures they’re fully tender and juicy. Here’s a quick reference for cooking times:
| Heat Setting | Time |
|---|---|
| HIGH | 4 hours |
| LOW | 7 hours |
With these steps, you’ll have a dish that’s both hearty and delicious. Enjoy the simplicity and rich flavors of this method!
Tips for Perfectly Cooked Lamb Shanks
Want to master the art of cooking tender, flavorful meat? These tips will help you achieve restaurant-quality results at home. Let’s dive in!
First, remove excess fat for a cleaner flavor. Strain the cooking liquid and freeze it for 10-15 minutes. This solidifies the fat cap, making it easy to skim off. Alternatively, use a fat separator for quick results.
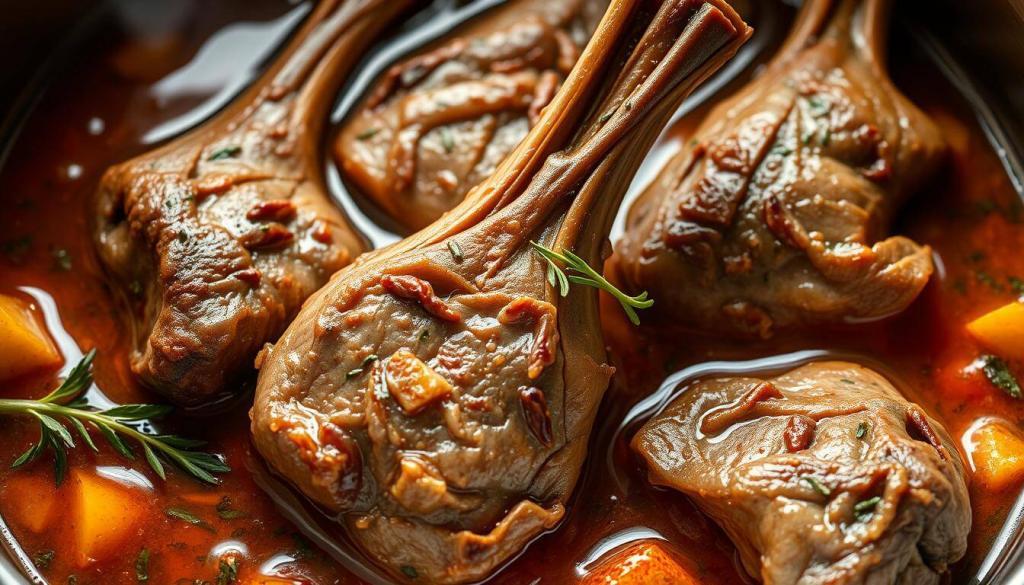
To avoid dryness, don’t overcrowd your cooker. A 6-quart model fits up to 4 shanks comfortably. This ensures even heat distribution and prevents the meat from drying out.
Check doneness by gently pressing the meat with a fork. It should slide off the bone effortlessly. If it’s still tough, cook for an additional 30 minutes to 1 hr.
For a rich, thick gravy, add a cornstarch slurry. Mix 1 teaspoon of cornstarch with 1 tablespoon of water, then stir it into the cooking liquid. Simmer until the gravy reaches your desired consistency.
Always thaw frozen shanks completely in the fridge before cooking. This ensures even cooking and prevents food safety issues. With these tips, you’ll create a dish that’s both tender and delicious!
How to Make a Rich Gravy from Cooking Liquids
Transform your cooking liquids into a rich, flavorful gravy with these simple steps. Start by straining the liquid through a fine mesh sieve. This removes herb bits and collagen, leaving you with a smooth base.
Next, simmer the strained liquid uncovered for 10-15 minutes. Stir frequently as it reduces by half. This step intensifies the flavor and creates a glossy finish.
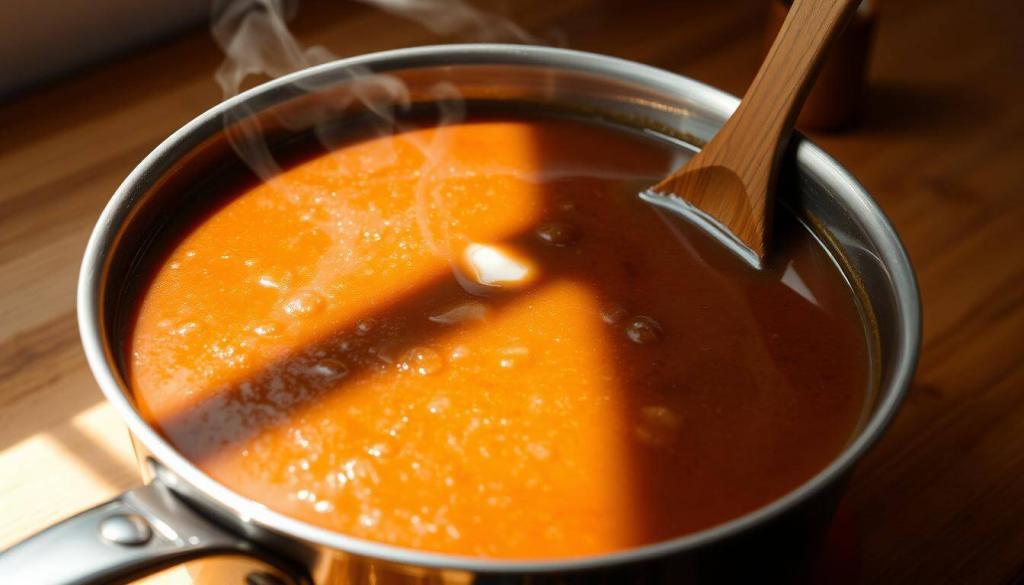
For an extra flavor boost, add 1 teaspoon of Worcestershire sauce or balsamic vinegar. These ingredients add depth and complexity to your gravy. If the gravy separates, whisk it vigorously off the heat to emulsify.
Store any extra gravy in an airtight jar. It keeps well in the fridge for up to 1 week. Reheat gently on low heat to maintain its smooth texture.
With these tips, you’ll turn your cooking liquids into a restaurant-worthy gravy every time. It’s the perfect finishing touch for your meal!
Serving Suggestions for Slow Cooker Lamb Shanks
Looking for the perfect way to complement your meal? We’ve got you covered with a variety of serving ideas that elevate your dish to the next level. Whether you’re hosting a dinner party or enjoying a cozy night in, these suggestions will impress your guests and satisfy your taste buds.
For classic sides, try creamy polenta, garlic mashed potatoes, or crusty sourdough bread. These options soak up the rich flavors of the cooking liquids, making every bite a delight. If you’re in the mood for something lighter, sautéed green beans, roasted carrots, or lemon-kissed asparagus are excellent vegetable partners.
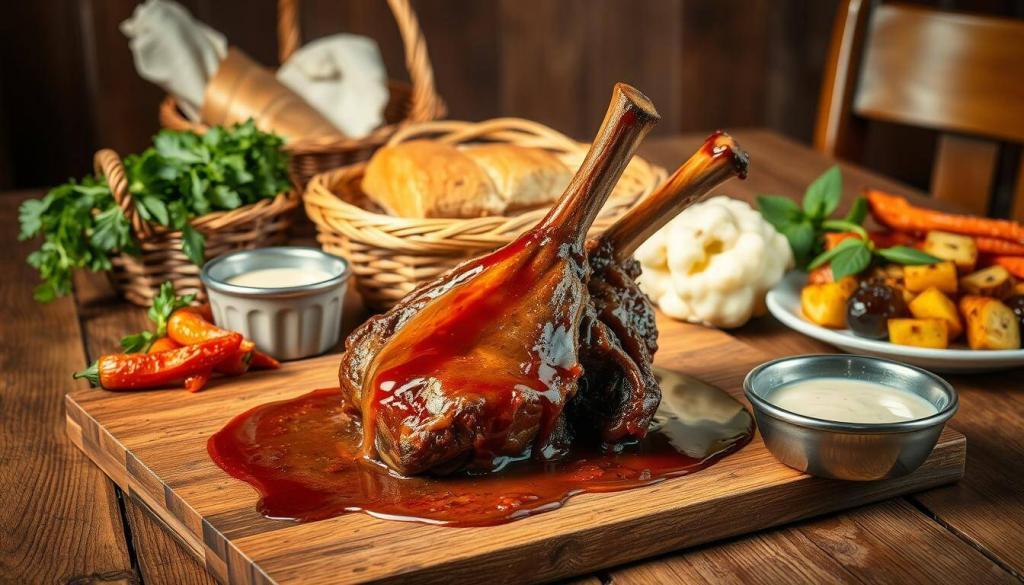
For a low-carb twist, serve your meal over cauliflower rice or zucchini noodles. These alternatives are a great way to enjoy the dish while keeping it healthy. They also add a fresh, vibrant element to your plate.
Pair your meal with a bold red wine like Cabernet Sauvignon or Syrah. These wines complement the rich flavors of the dish perfectly. Here’s a quick guide to wine pairings:
| Wine | Flavor Profile |
|---|---|
| Cabernet Sauvignon | Full-bodied with notes of black cherry and cedar |
| Syrah | Rich with hints of blackberry and spice |
For a final touch, garnish your dish with fresh rosemary sprigs and cracked black pepper. This simple step enhances the presentation and adds a burst of aroma. With these serving suggestions, you’ll create a meal that’s as beautiful as it is delicious.
Storing and Reheating Leftovers
Make the most of your meal by mastering the art of storing and reheating leftovers. Proper storage ensures your dish stays fresh and delicious for days. Let’s dive into the best practices to keep your food safe and flavorful.
First, cool the dish completely before storing. This prevents condensation, which can make the meat soggy. Use an airtight container to maintain freshness and prevent odors from spreading in your fridge or freezer.
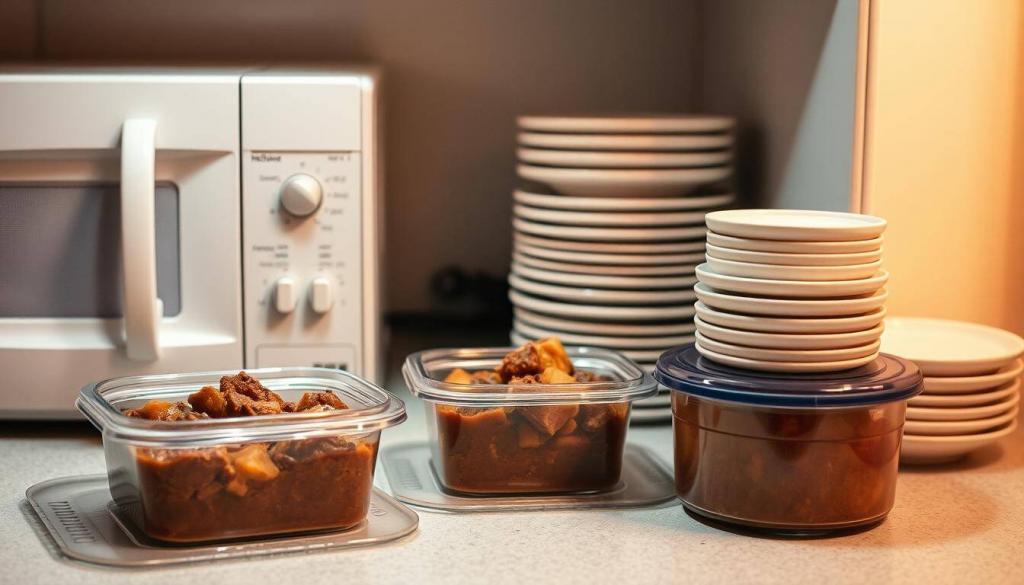
For portion control, freeze individual servings with gravy in 16oz deli containers. This makes reheating easier and reduces waste. Label each container with the date to keep track of storage time.
When reheating, use a microwave at 50% power for 3-4 minutes, flipping halfway through. Alternatively, warm it in the oven at 325°F for 20 minutes. Both methods preserve the juiciness and flavor of the meat.
If the gravy thickens too much after reheating, add a splash of broth to refresh it. Stir well to achieve the desired consistency. Always check for safety by smelling and inspecting the leftovers. Discard if they smell sour or develop a slimy texture.
| Storage Method | Duration |
|---|---|
| Refrigerator | Up to 4 days |
| Freezer | Up to 3 months |
With these tips, you’ll enjoy your meal just as much the second time around. Proper storage and reheating make all the difference in maintaining quality and flavor.
Common Mistakes to Avoid
Avoid these common pitfalls to ensure your dish turns out perfectly every time. Even small errors can affect the texture and flavor of your meal. Let’s dive into the most frequent mistakes and how to fix them.
Adding too much liquid is a common error. For braising, only ½ cup of broth is needed. Excess liquid dilutes the flavor and prevents the meat from caramelizing properly. Stick to the recommended amount for the best results.
Lifting the lid during cooking is another mistake to avoid. This releases heat and steam, extending the cooking time. Keep the lid closed to maintain consistent temperature and ensure tender meat.
Using fresh herbs instead of dried can lead to bitterness. Fresh herbs break down during long cooking, losing their flavor. Stick to dried herbs for a balanced taste.
Skipping fat removal results in greasy gravy. After cooking, strain the liquid and skim off the fat. This step ensures a cleaner, more refined sauce.
Cutting the cooking time short is a big no-no. Tough meat needs the full duration to become tender. Stick to the recommended hours for melt-in-your-mouth results.
| Mistake | Solution |
|---|---|
| Excess Liquid | Use only ½ cup broth |
| Lifting Lid | Keep lid closed |
| Fresh Herbs | Use dried herbs |
| Skipping Fat Removal | Strain and skim fat |
| Cutting Cooking Time | Follow full duration |
By avoiding these mistakes, you’ll create a dish that’s both flavorful and tender. Happy cooking!
Variations and Substitutions
Explore creative ways to customize this dish to suit your taste. Whether you’re looking for a Mediterranean twist or an Indian fusion, we’ve got you covered. These options make it easy to adapt the meal to your preferences or dietary needs.
For a Mediterranean flair, add olives, sun-dried tomatoes, and oregano. This combination brings a tangy, savory flavor that pairs perfectly with the rich protein. If you’re craving something bold, swap rosemary for garam masala and finish with a dollop of yogurt for an Indian-inspired version.
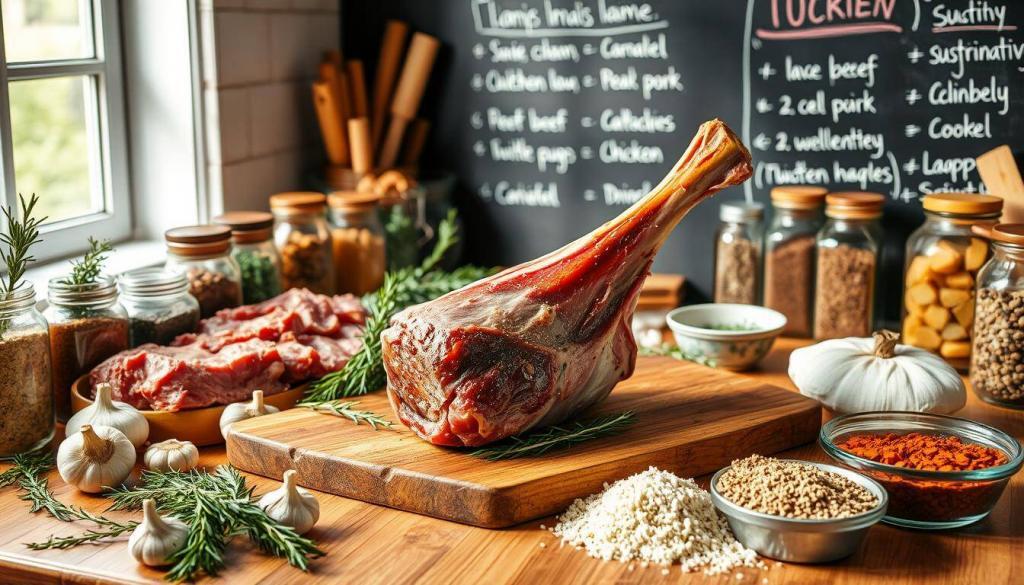
For those following a keto-friendly diet, use xanthan gum instead of cornstarch to thicken the gravy. It’s a simple way to keep the dish low-carb without sacrificing texture. If you prefer an alcohol-free version, substitute red wine with 1 cup of broth and 1 tablespoon of balsamic vinegar for depth of flavor.
Herb substitutions are also a great way to experiment. Try thyme or marjoram instead of rosemary for a different aromatic profile. With these variations, you can create a meal that’s uniquely yours while staying true to the dish’s essence.
Why This Recipe is a Must-Try
If you’re searching for a meal that’s both impressive and effortless, this dish delivers. With rave reviews and a 4.95/5 rating from over 320 home cooks, it’s a proven crowd-pleaser. The best part? It’s budget-friendly, rivaling $30+ restaurant entrees with just $15 worth of ingredients.
This recipe is a time-saver, requiring only 10 minutes of active prep. Let the slow cooker do the work for 4 hours, and you’ll have tender, fall-off-the-bone lamb shanks ready to serve. It’s perfect for busy weeknights or special occasions.
What makes this dish stand out is its versatility. It fits gluten-free, paleo, and low-carb diets, making it a universal favorite. Plus, it’s ideal for batch cooking—double the recipe, and you’ll have 8+ meals ready to freeze for later.
Guests always ask for seconds, and they’ll likely request the recipe too. Whether you’re cooking for family or hosting friends, this dish is sure to leave a lasting impression.
Footer 1
Call the HERD
Always available for any questions. Call and we will be happy to help.
Follow the HERD
Keep up to date on new products available in store.
Important Links
Join the HERD
Be the first to know about any offers or promotions.
- Herd Butchery 2025

Leave a Reply