Instant Pot Beef Brisket Recipe
Craving a tender, flavorful meal without spending hours in the kitchen? Our method delivers fall-apart brisket in under two hours. Using a pressure cooker, we’ve simplified the process while keeping the rich BBQ flavors you love.
This dish is perfect for busy families. The homemade sauce adds a touch of sweetness that even kids enjoy. Plus, it’s versatile enough to pair with roasted veggies, mashed potatoes, or your favorite sides.
We’ll also share pro tips, like how to position the fat cap for maximum flavor and caramelize the meat after cooking. Whether you’re a beginner or a seasoned cook, this recipe is foolproof and delicious.
Why Choose Instant Pot for Beef Brisket?
Why spend all day cooking when you can achieve the same results in less time? Traditional smoking methods can take over 12 hours, but with an instant pot, you’ll have tender, flavorful meat in just 75 minutes. This modern approach saves you time without compromising on taste.
The science behind it is simple. A pressure cooker uses steam and high pressure to break down collagen in the meat efficiently. This process turns tough cuts into melt-in-your-mouth perfection. It’s a game-changer for busy households.
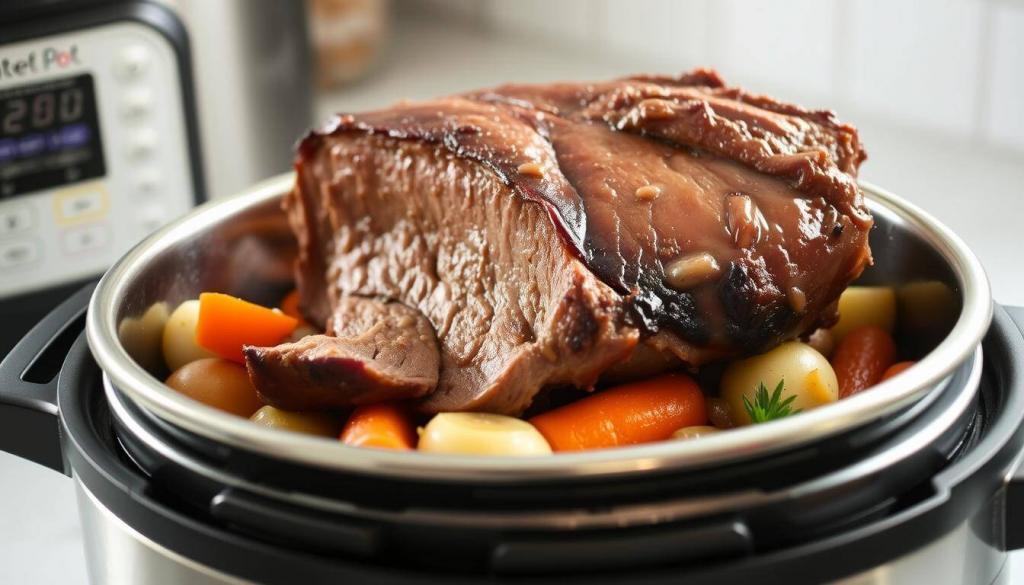
Energy efficiency is another advantage. Compared to oven cooking, an instant pot uses less power and heats up faster. This makes it a more sustainable option for everyday meals.
Some might worry that using a pressure cooker is a “cheat” method compared to traditional BBQ. However, the results speak for themselves. You’ll still get that rich, smoky flavor, especially when you pair it with a homemade sauce that integrates perfectly during the cooking process.
Whether you’re short on time or just looking for a simpler way to cook, the instant pot delivers. It’s a versatile tool that makes preparing tender, juicy meat easier than ever.
What You’ll Need for This Recipe
Gathering the right ingredients and tools is the first step to success. Let’s break down everything you’ll need to create this flavorful dish.
Start with a 2-inch thick cut of meat, ideally weighing between 1.5 to 2 pounds. Look for a piece with a good fat cap, as it adds moisture and flavor during cooking. Trim excess fat, leaving about a quarter-inch for optimal results.
For seasoning, you’ll need kosher salt, black pepper, garlic, and onions. These staples enhance the natural taste of the meat. If you’re following a kosher diet, ensure your wine or ketchup is certified kosher.
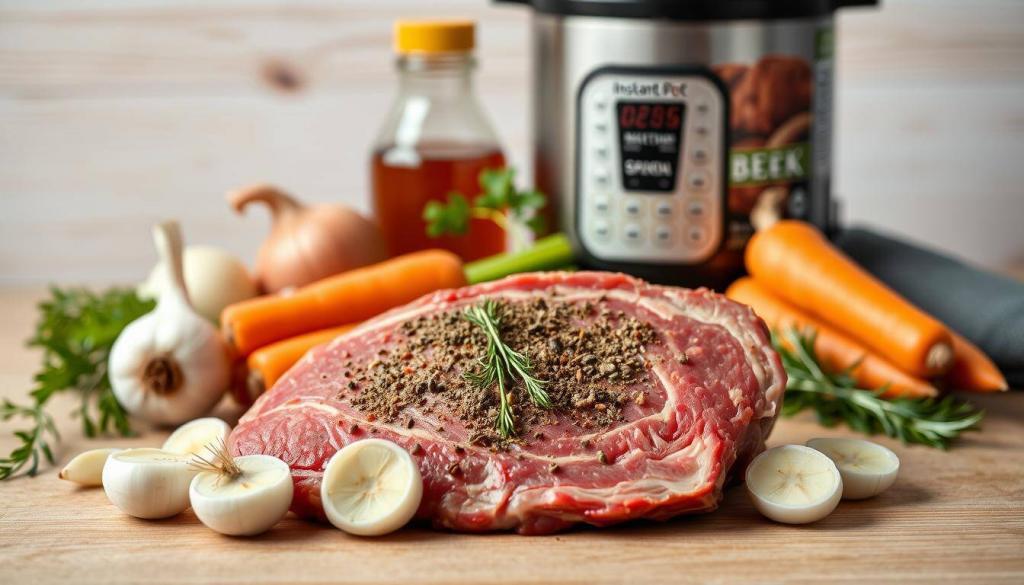
Liquid smoke is a key ingredient for that smoky flavor. If you don’t have it, try smoked paprika or chipotle powder as alternatives. Both work well and are budget-friendly.
Here’s a quick comparison of liquid smoke alternatives:
| Alternative | Flavor Profile | Best Use |
|---|---|---|
| Smoked Paprika | Mild, smoky, slightly sweet | Seasoning rubs, sauces |
| Chipotle Powder | Spicy, smoky, earthy | Marinades, dry rubs |
For equipment, a 6-quart pot is essential. A fat separator helps remove excess grease, while an immersion blender ensures smooth sauces. Optional tools like a blowtorch can add a finishing touch for caramelization.
If you’re on a budget, swap chicken stock for water or use honey alternatives like maple syrup. These small changes won’t compromise the dish’s quality.
Preparing Your Beef Brisket
Preparing the perfect cut starts with the right techniques and attention to detail. Begin by managing the fat cap. Trim excess fat, leaving about a quarter-inch for moisture and flavor. This ensures the meat stays juicy without being overly greasy.
Next, apply a dry rub to enhance the flavor. Use a mix of spices like cinnamon, fennel, and cayenne for a rich, aromatic blend. Massage the rub into the meat thoroughly, ensuring every inch is coated. Let it marinate for at least 4 hours, or overnight for deeper flavor.
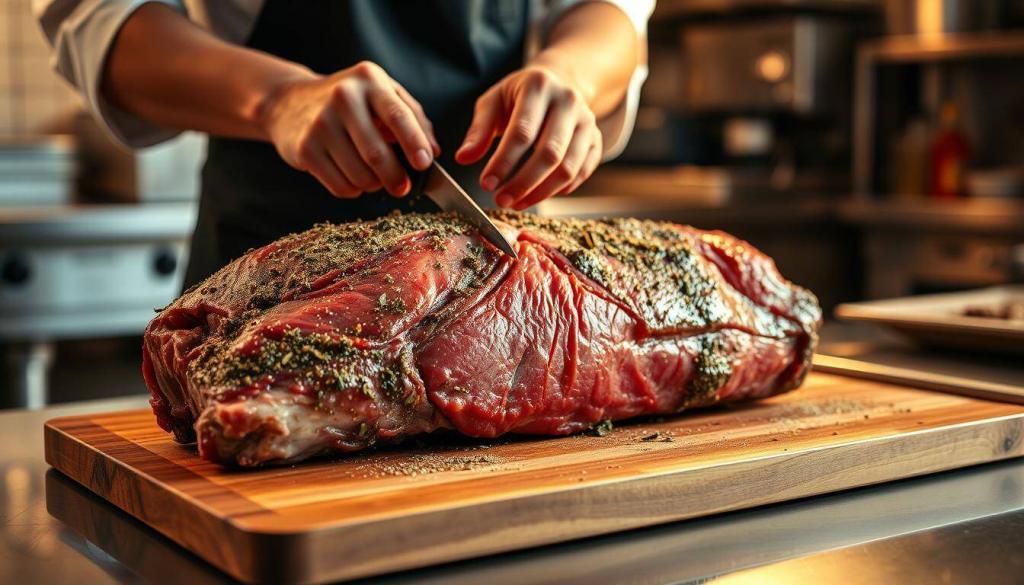
Spice adaptations can vary based on your preference. For a Texas-style flavor, focus on bold, smoky spices. If you prefer a Jewish-style approach, use simpler seasonings like salt, pepper, and garlic. Both methods deliver delicious results.
Food safety is crucial when marinating. Always refrigerate the meat if marinating overnight. Use kosher salt for better control over seasoning. If you only have table salt, reduce the amount by half to avoid over-salting.
With these steps, your cut will be ready for cooking. Proper preparation ensures a tender, flavorful dish that’s worth the effort.
Pressure Cooking the Brisket</h2>
Mastering the art of pressure cooking starts with understanding the basics. The right technique ensures tender, flavorful results every time. Let’s dive into the steps to achieve perfection.
Start by adding your liquid base to the cooker. Use ½ cup of broth for a classic flavor. For a twist, try beer, cola, or coffee. These alternatives add depth and richness to the dish.
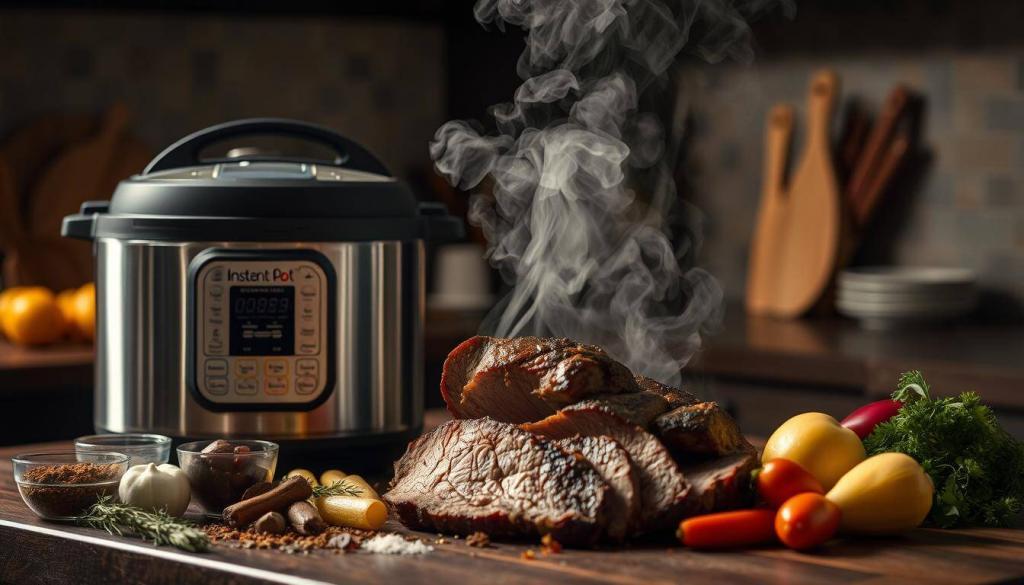
Layer aromatics like onions beneath the meat. This infuses flavor during cooking. Secure the lid and set the cooker to high pressure. Cook for 50 minutes to ensure the meat is tender.
After cooking, allow a 15-minute natural release. This step prevents the meat from toughening. If you’re short on time, a quick release works too, but natural is best.
If you see a “burn” notice, check the liquid level. Add more broth or water if needed. For multi-cookers like Ninja Foodi or Duo Crisp, follow the same settings for consistent results.
| Liquid Base | Flavor Profile | Best Use |
|---|---|---|
| Beer | Rich, malty, slightly bitter | Bold, hearty dishes |
| Cola | Sweet, caramelized | Sweet and savory recipes |
| Coffee | Earthy, robust | Deep, smoky flavors |
With these tips, your dish will turn out perfectly every time. Pressure cooking is a game-changer for busy cooks.
Making the Homemade BBQ Sauce
Creating a homemade BBQ sauce is easier than you think. It’s a great way to add a personal touch to your dish. Plus, you can adjust the flavors to suit your taste.
Start with a base of ketchup, brown sugar, and mustard. Add vinegar for tanginess and a hint of spice with cayenne. Simmer the mixture for 8-15 minutes to let the flavors blend.
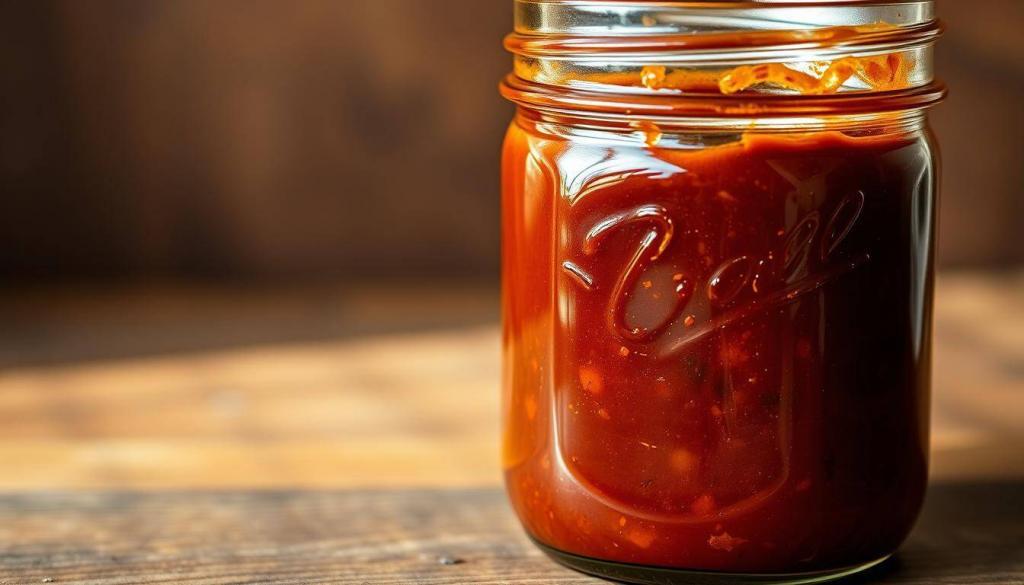
Fat separation is an important step. Use a fat separator or the ice cube trick to remove excess grease. This ensures your sauce is smooth and not overly oily.
Balancing sweetness is key. Maple syrup adds a rich, natural sweetness, while molasses gives a deeper, earthy flavor. Here’s a quick comparison:
| Sweetener | Flavor Profile | Best Use |
|---|---|---|
| Maple Syrup | Rich, natural sweetness | Mild, versatile sauces |
| Molasses | Deep, earthy, slightly bitter | Bold, hearty sauces |
Customize the spice level by adjusting the amount of cayenne. For a mild sauce, use just a pinch. If you like it hot, add more for a fiery kick.
Glazing techniques add a finishing touch. Use a broiler for a caramelized crust or a culinary torch for precision. Both methods enhance the flavor and presentation.
Store leftover sauce in silicone cubes for easy portioning. Freeze them and thaw as needed. This saves time and ensures you always have sauce ready.
With these tips, your homemade BBQ sauce will elevate your dish. It’s simple, customizable, and packed with flavor.
Serving Your Instant Pot Brisket
Ready to serve up a meal that’s as impressive as it is delicious? Let’s dive into the final steps to make your dish shine. From carving to plating, we’ve got you covered.
Start by identifying the grain of the meat. Look for the direction of the muscle fibers. Always slice against the grain to ensure tender, easy-to-chew pieces. This simple technique makes a big difference in texture.
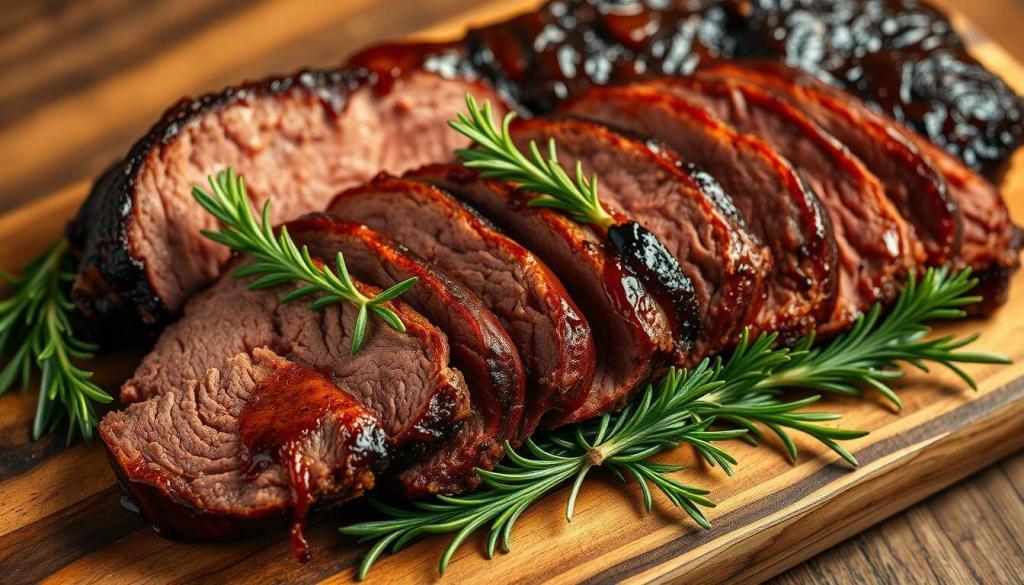
Pair your dish with sides that complement its rich flavor. Coleslaw adds a refreshing crunch, while jalapeño cornbread brings a spicy kick. Roasted vegetables like carrots or Brussels sprouts are also great options.
When it comes to sauce, you have two choices. Brush it on for a glossy finish or set up a dipping station for customizable flavor. Both methods enhance the taste and presentation.
For a polished look, dress your serving board with fresh herbs like parsley or rosemary. These small touches elevate the meal and make it feel special.
If you’re catering to dietary needs, consider gluten-free bun options. They’re just as tasty and ensure everyone can enjoy the meal. Leftovers can be stored for later, making this dish even more convenient.
With these tips, you’ll serve a meal that’s as beautiful as it is flavorful. Enjoy the compliments as your guests dig in!
Storing and Reheating Leftovers
Got leftovers? Here’s how to store and reheat them like a pro. Proper storage keeps your meal fresh and flavorful, while the right reheating method ensures it tastes just as good as the first time.
To store leftovers, let them cool completely. Use airtight containers or vacuum-sealed bags to lock in moisture. For extra protection, place a parchment layer between slices to prevent sticking. This method works well for up to 5-6 days in the fridge.
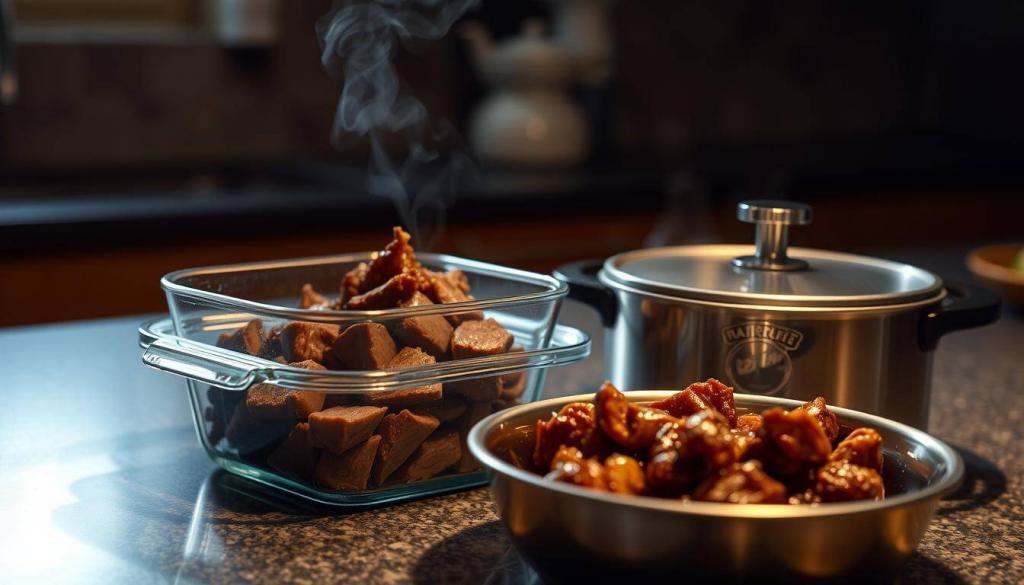
If you want to freeze leftovers, portion them into meal-sized servings. This makes it easy to thaw only what you need. Frozen leftovers can last up to 3 months without losing quality.
When it’s time to reheat, choose the method that suits your needs. Steaming is great for retaining moisture, while sous vide ensures even heating. Here’s a quick comparison:
| Method | Best For | Tips |
|---|---|---|
| Steaming | Retaining moisture | Use a steamer basket or microwave-safe dish |
| Sous Vide | Even heating | Set the water bath to 140°F for tender results |
Leftovers are versatile. Transform them into tacos, hash, or pot pie for a fresh twist. If your gravy has separated, revive it by adding a splash of beer or coffee. This trick brings back its rich flavor and smooth texture.
Always check for visual spoilage indicators like discoloration or an off smell. When in doubt, it’s better to be safe and discard questionable leftovers. With these tips, you’ll enjoy your meal again and again without compromising taste or safety.
Tips for the Best Instant Pot Brisket
Small adjustments can transform good results into restaurant-quality perfection. We’ll share techniques that enhance both texture and flavor, from prep to finishing touches.
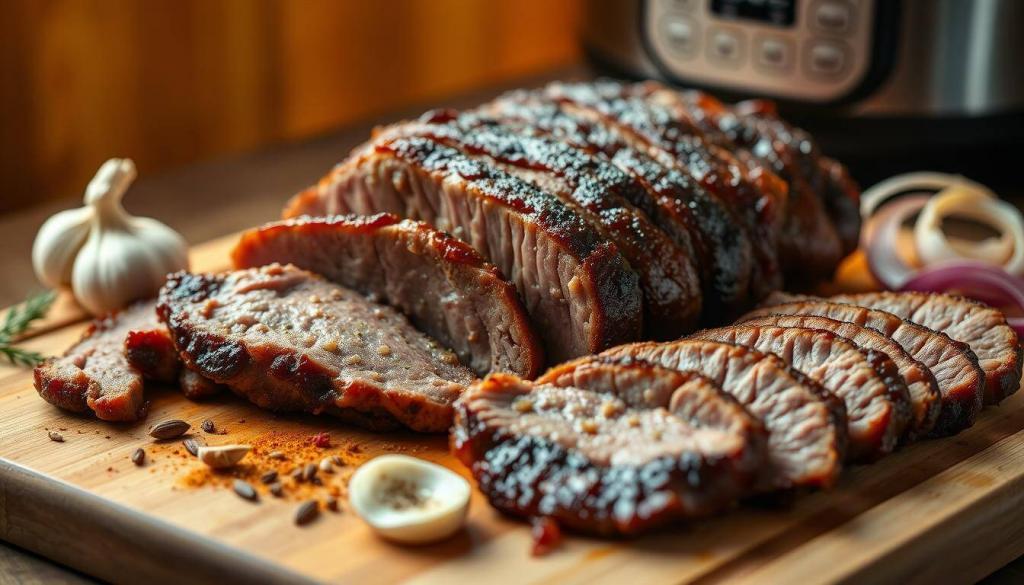
Start with the right cut. Choose well-marbled pieces about 2 inches thick for optimal tenderness. Thinner slices may dry out during cooking.
Searing creates incredible flavor through the Maillard reaction. Try 6 minutes per side in a hot pan before pressure cooking. This step isn’t mandatory but adds depth.
For extra moisture, consider brining overnight. A simple saltwater solution keeps the meat tender. Add herbs or spices to the brine for bonus flavor.
Smoke lovers can add wood chips. Wrap a handful in foil, poke holes, and place them beneath the trivet. This mimics traditional smoking.
At high altitudes, adjust cooking times. Add 5% more time for every 1,000 feet above 2,000 ft elevation. Keep notes for perfect results in your area.
Doubling the recipe? Layer ingredients evenly and don’t overfill. The cooking time stays the same, but allow extra minutes for pressure buildup.
Let the meat marinate after cooking in its juices. This final rest period allows flavors to fully develop before serving.
Enjoy Your Delicious Instant Pot Brisket
Now that your meal is ready, it’s time to savor the results and share the joy. Whether you’re hosting a game day spread or contributing to a potluck, this dish is sure to impress. We love seeing success stories and welcome your photos to inspire others.
Seasonal adaptations make this recipe versatile. Enjoy it as a summer BBQ centerpiece or a comforting winter meal. Pair it with our signature sides collection for a complete dining experience.
One final pro tip: don’t skip the resting time. Letting the meat sit allows the juices to redistribute, ensuring every bite is tender and flavorful. Enjoy your delicious creation!
Footer 1
Call the HERD
Always available for any questions. Call and we will be happy to help.
Follow the HERD
Keep up to date on new products available in store.
Important Links
Join the HERD
Be the first to know about any offers or promotions.
- Herd Butchery 2025

Leave a Reply